[WIP] Building a camper van
My partner Noah and I bought a Dodge Pro Master van and have been building it out to be a camper. We have designed and built everything from scratch. We aren’t done yet but we’ve made some great progress. I’ve documented our build out below.
Buy a van
In the depth of winter, we sprung on a windowless cargo van from a dealership in Vermont. Here’s a pic of the van on the lot the day we signed the paperwork. Didn’t even have a license plate.
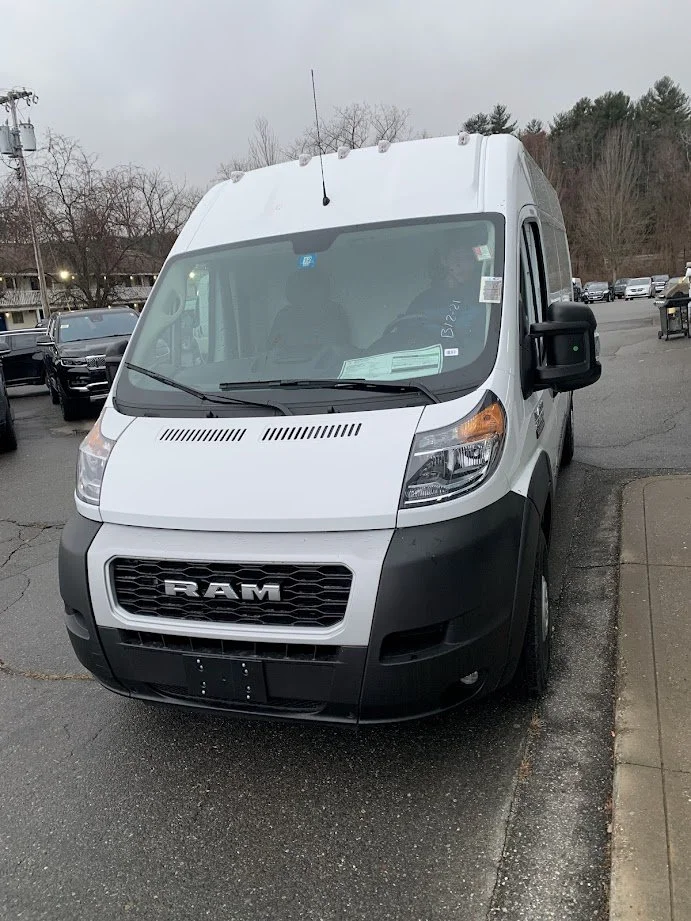
Van on the lot as we sign the paperwork!
Install a passenger seat
It is a high priority that the van can transport other people besides ourselves. To do this we installed a passenger seat behind the driver seat. We bought a cargo van bench seat on Facebook marketplace and paid a professional auto shop to install the seats for us so they meet state and federal safety standards.
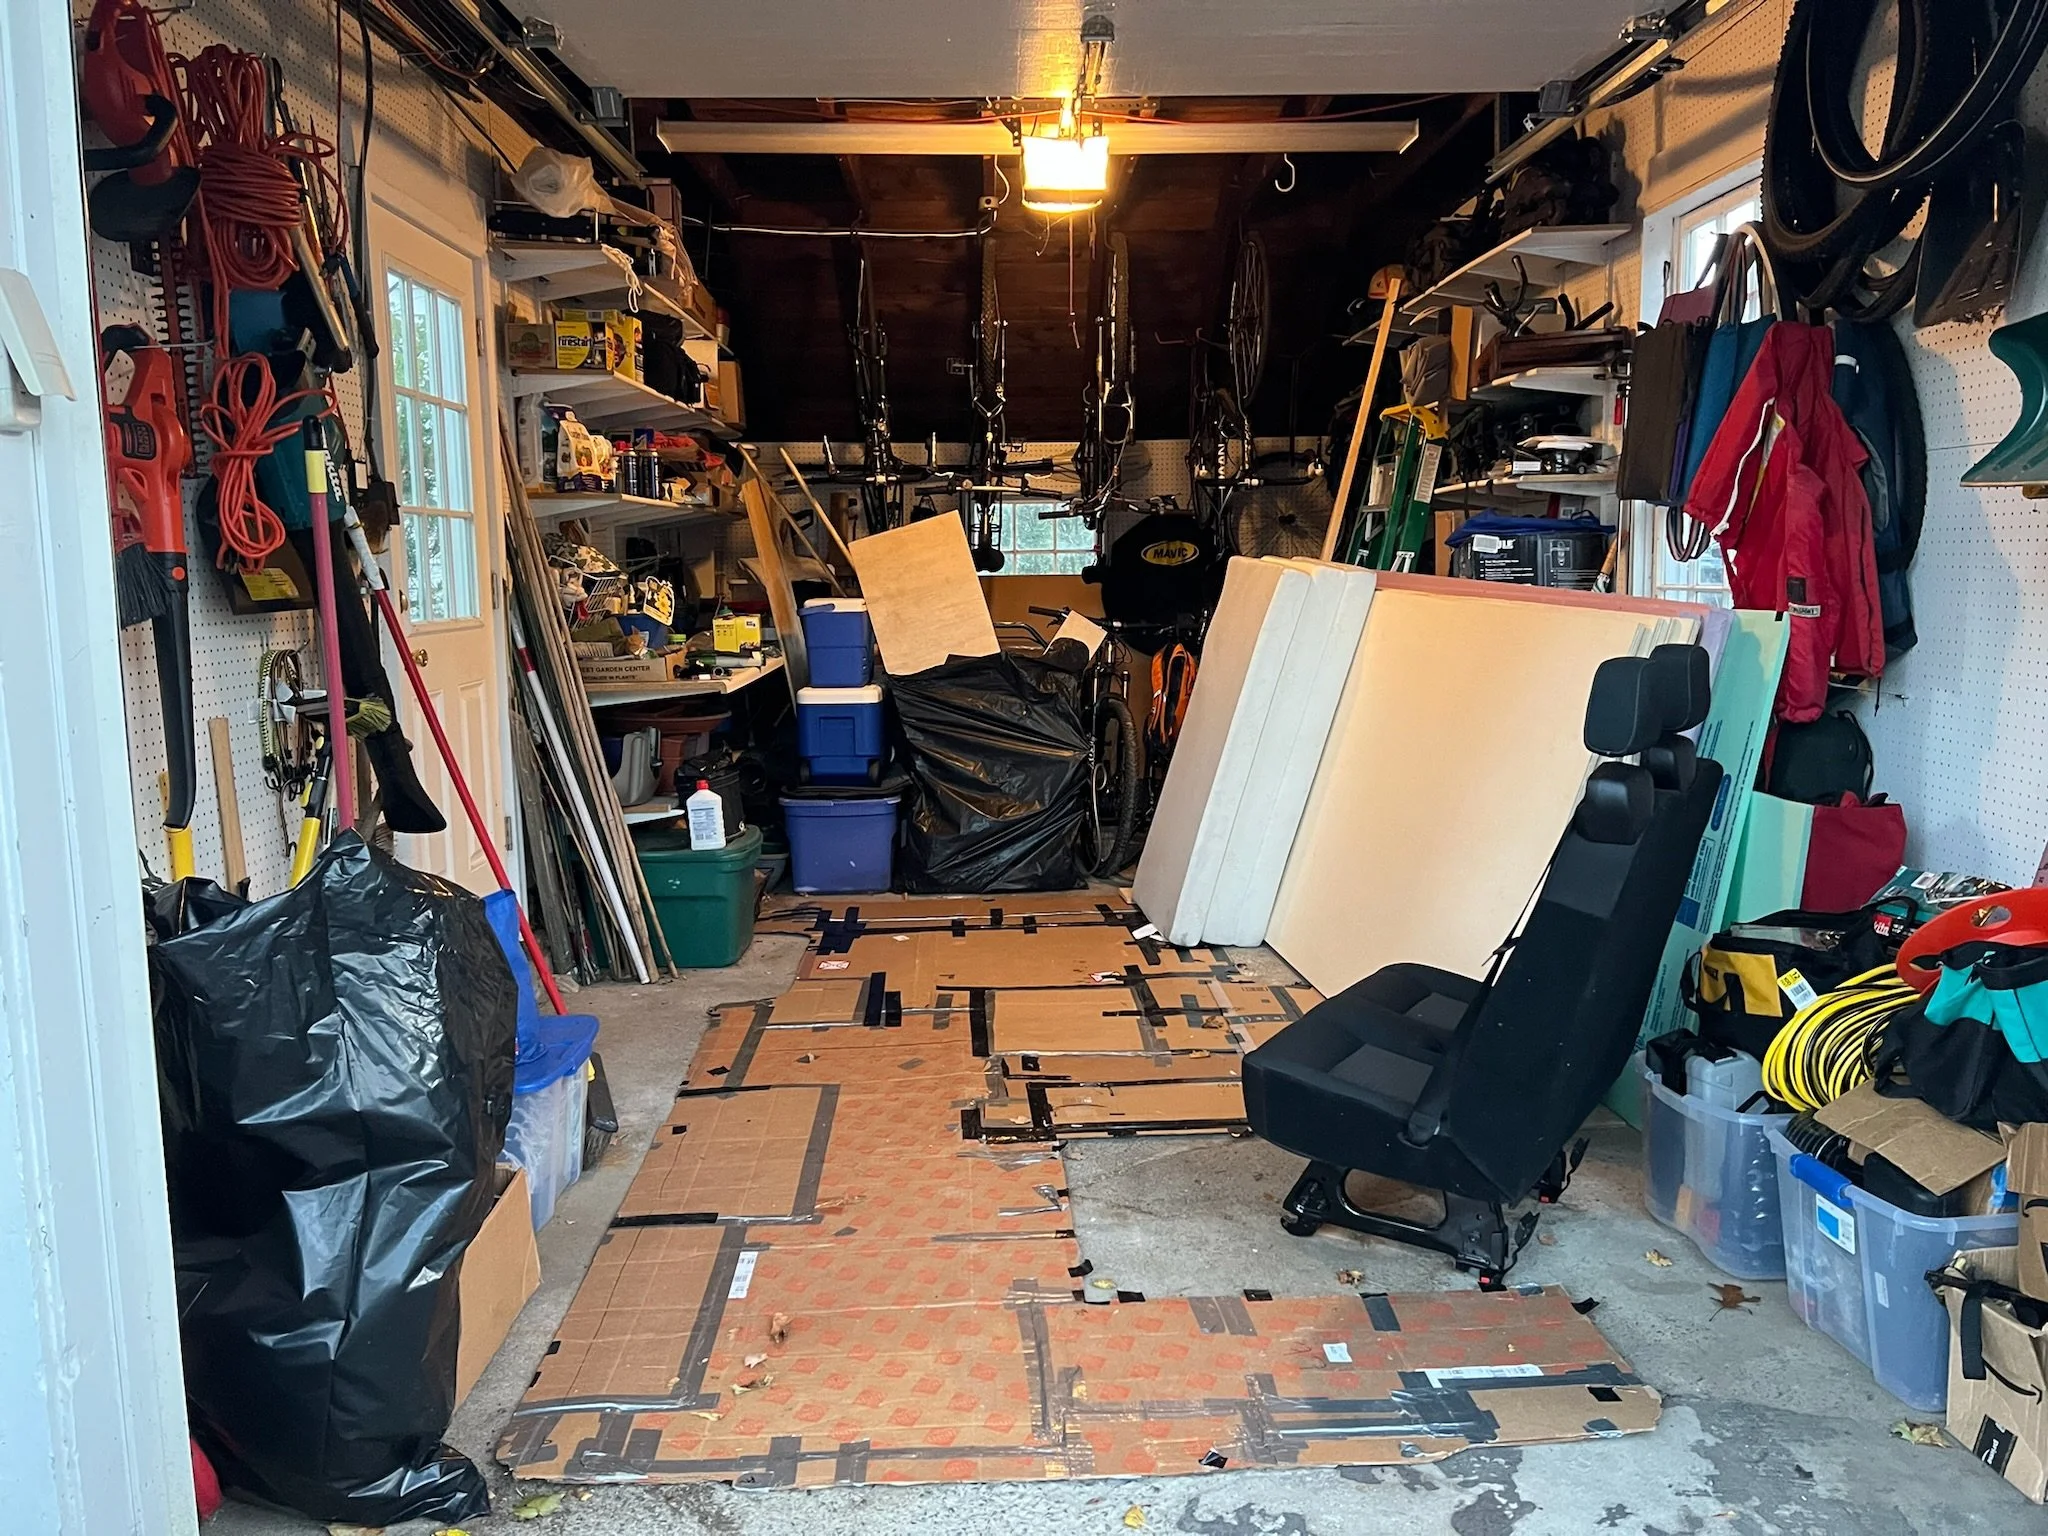
Here’s the the removable passenger bench in the garage before we installed it. The footprint of the van is represented by the cardboard. Where the seat is placed in the cardboard template is roughly where it sits in the van.
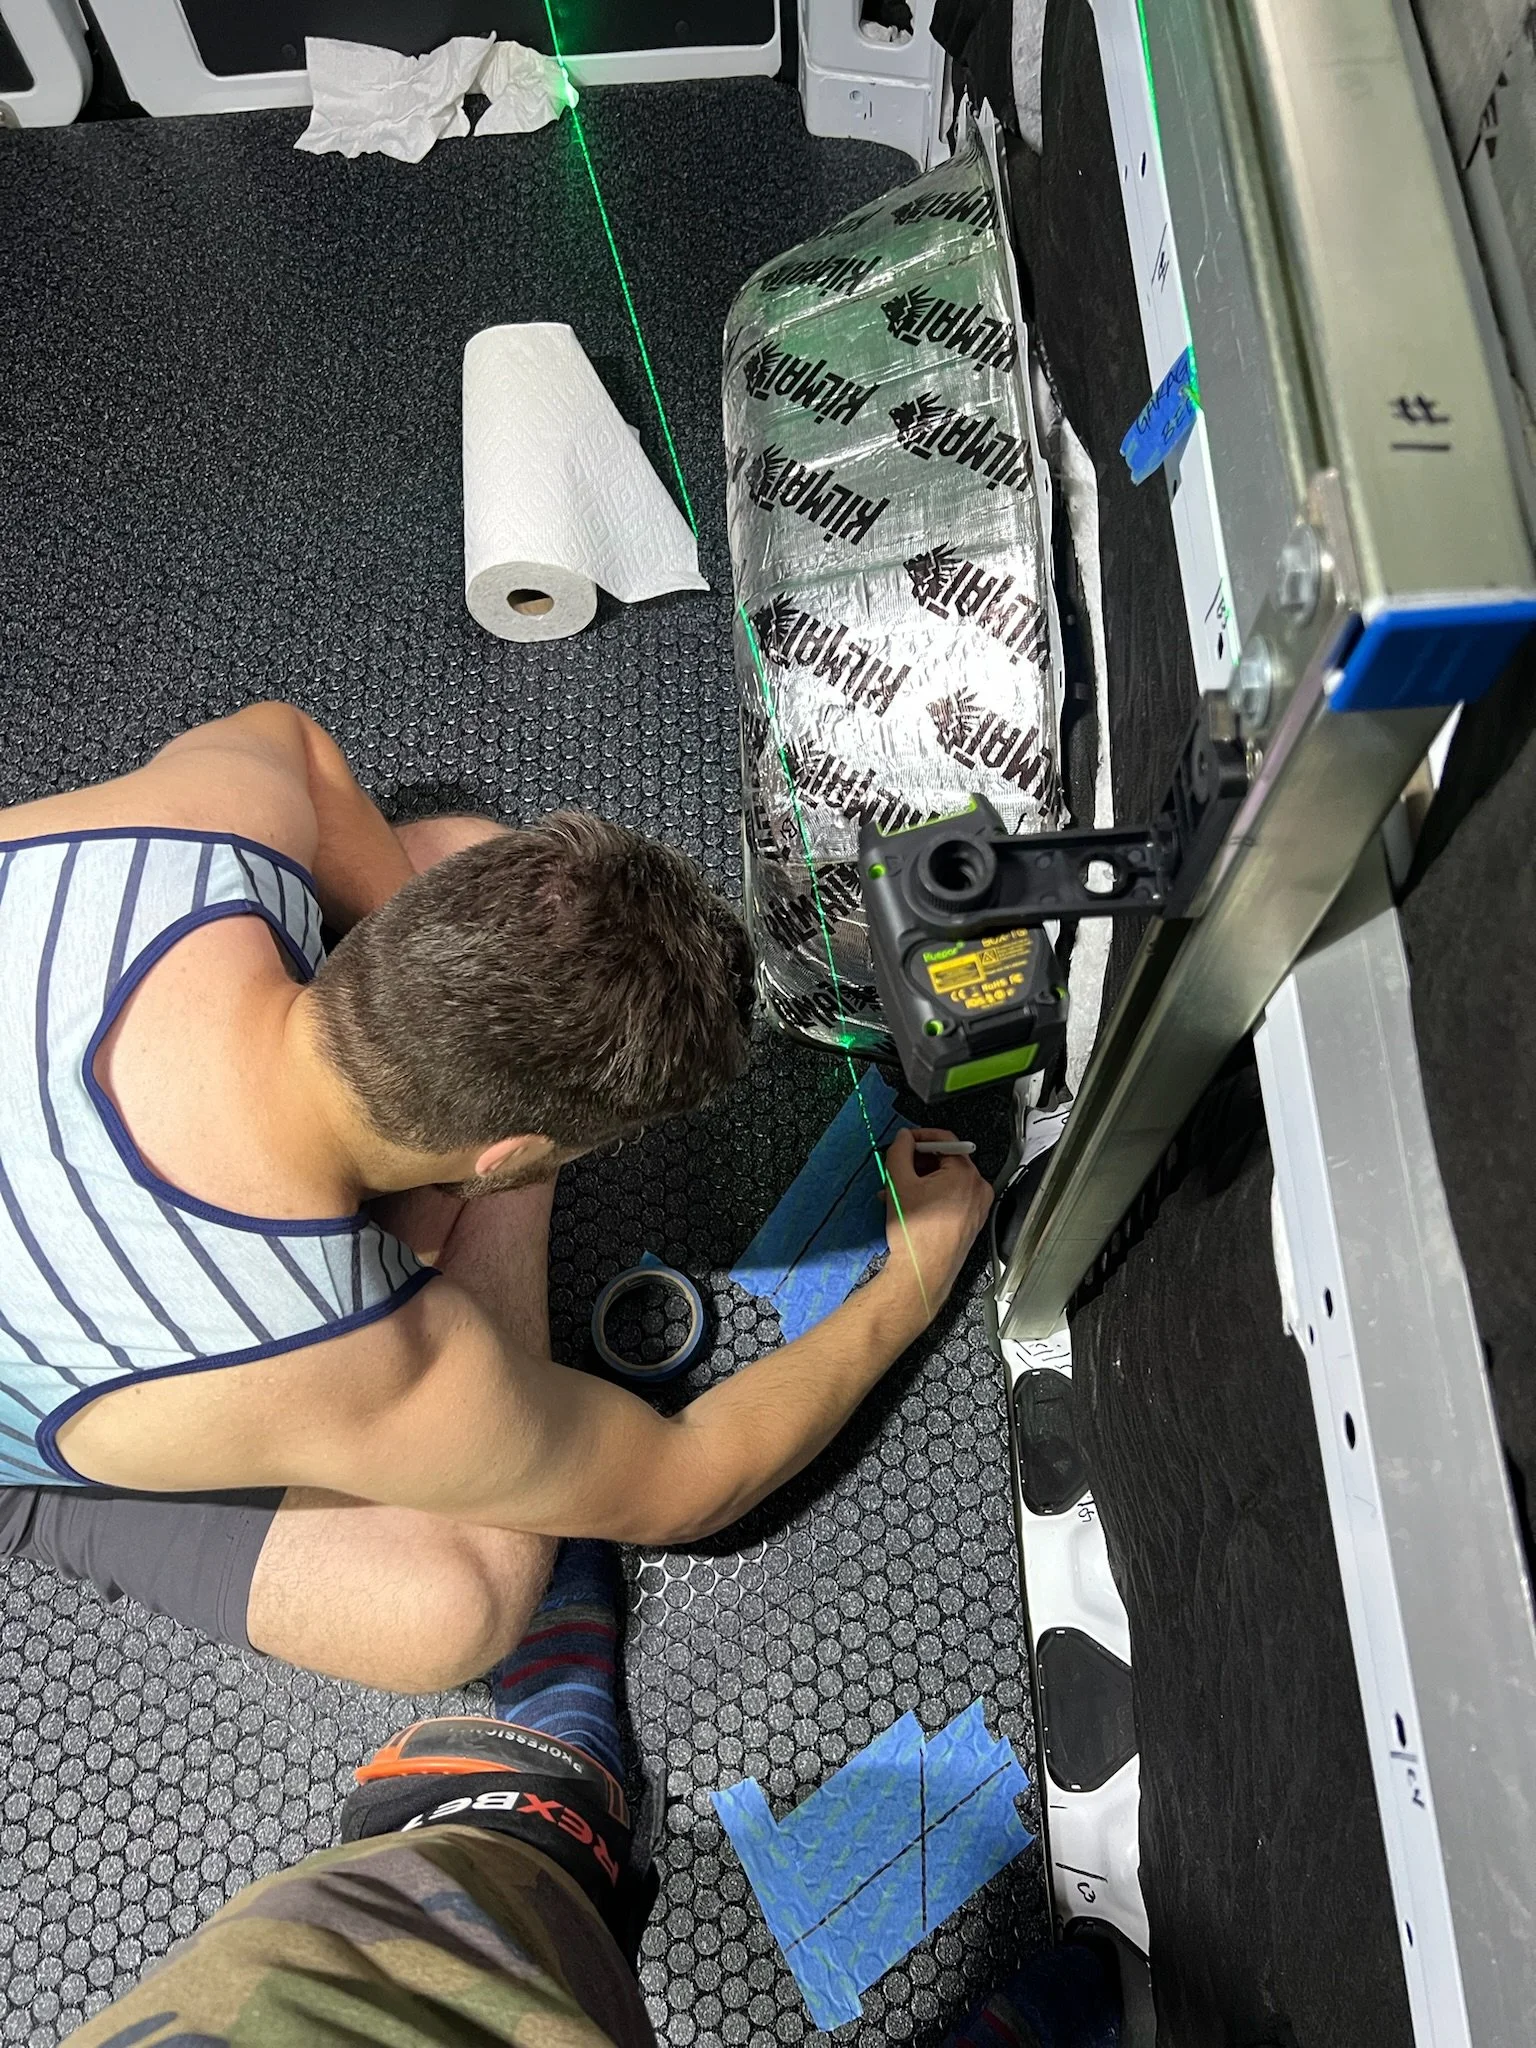
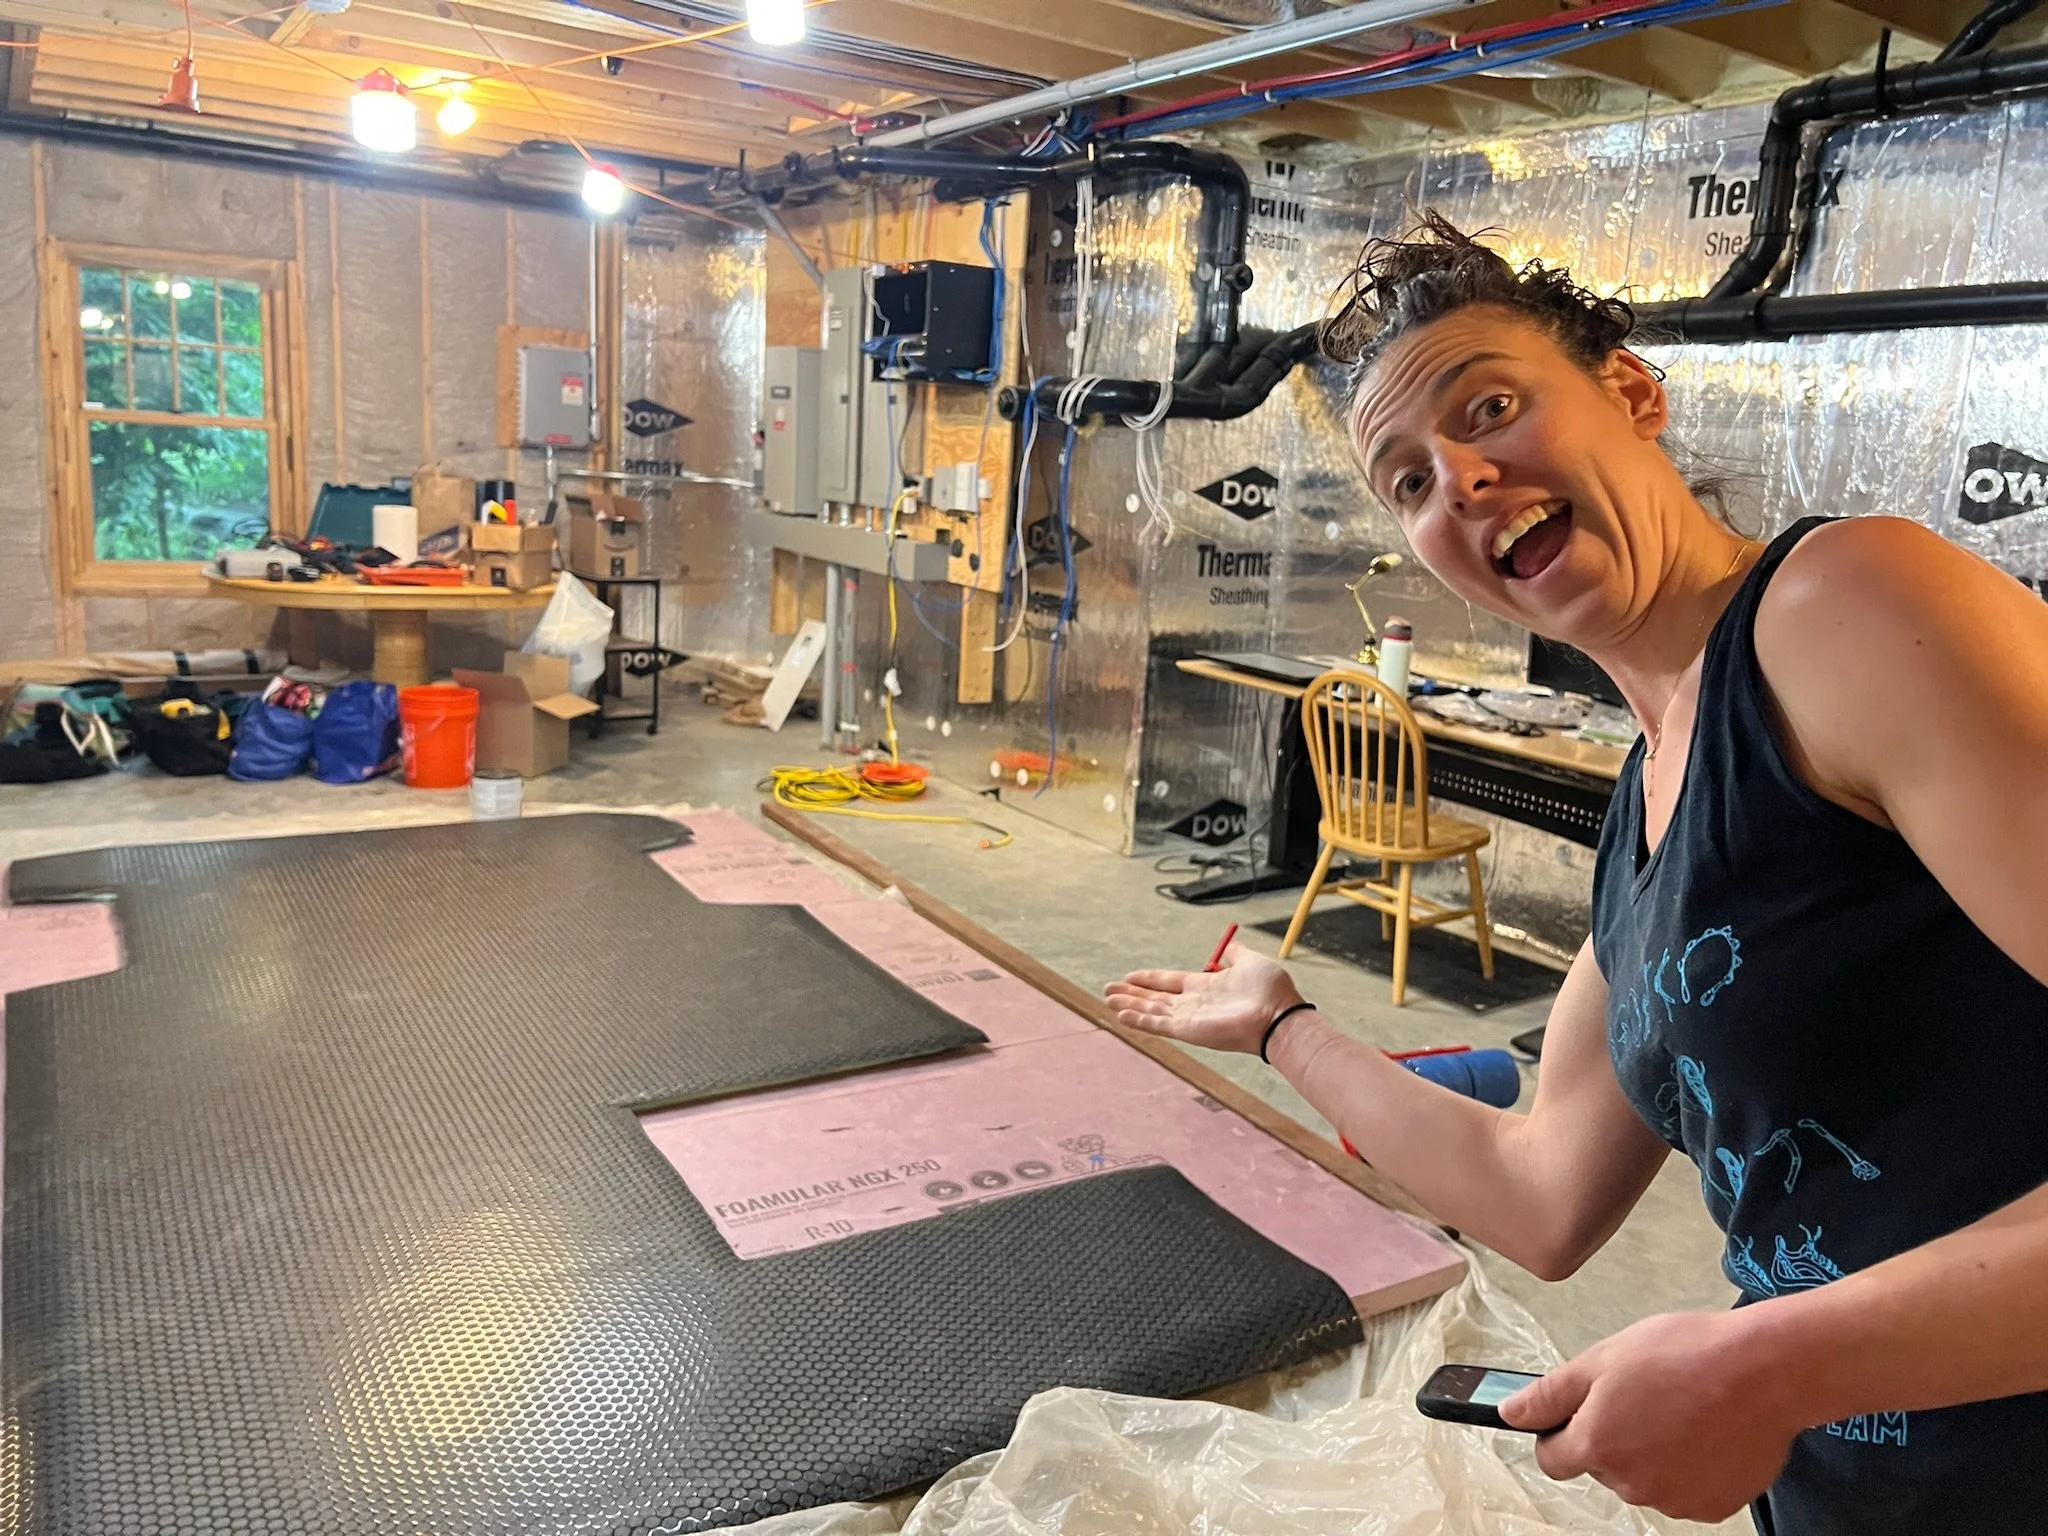
Insulate
We installed sound insulation (silver material over the wheel in the left picture) and thermal insulation (green foam material on the floor in the right picture) to help keep the van noise quiet and the heat inside.
Make front seats swivel
We installed swivel mounts in the front two seats so they could spin and face the passenger seat. This setup allows us to have four seats in a circle and place a table in the middle to eat.


I don’t have a picture of the swivel installation so the first image is a stock image of the intent. The second picture is Noah sitting in the driver seat with it swiveled to face the back so we could play Settlers of Catan.
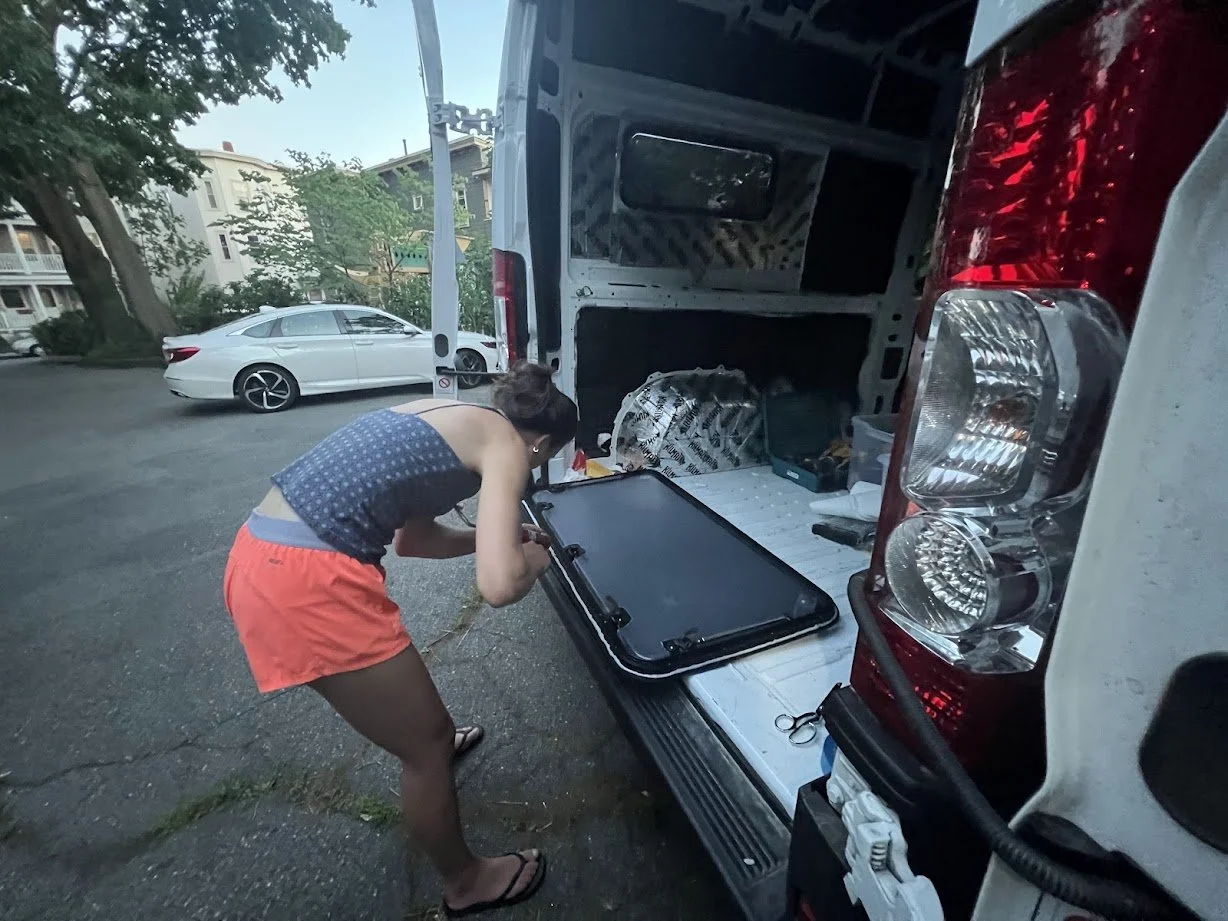
Cut first window
The van comes with no windows so we had to cut and install them. The first window sits by the bed. The challenge with these windows is ensuring a tight fit between the hole we cut and the window we install so no water can get it.
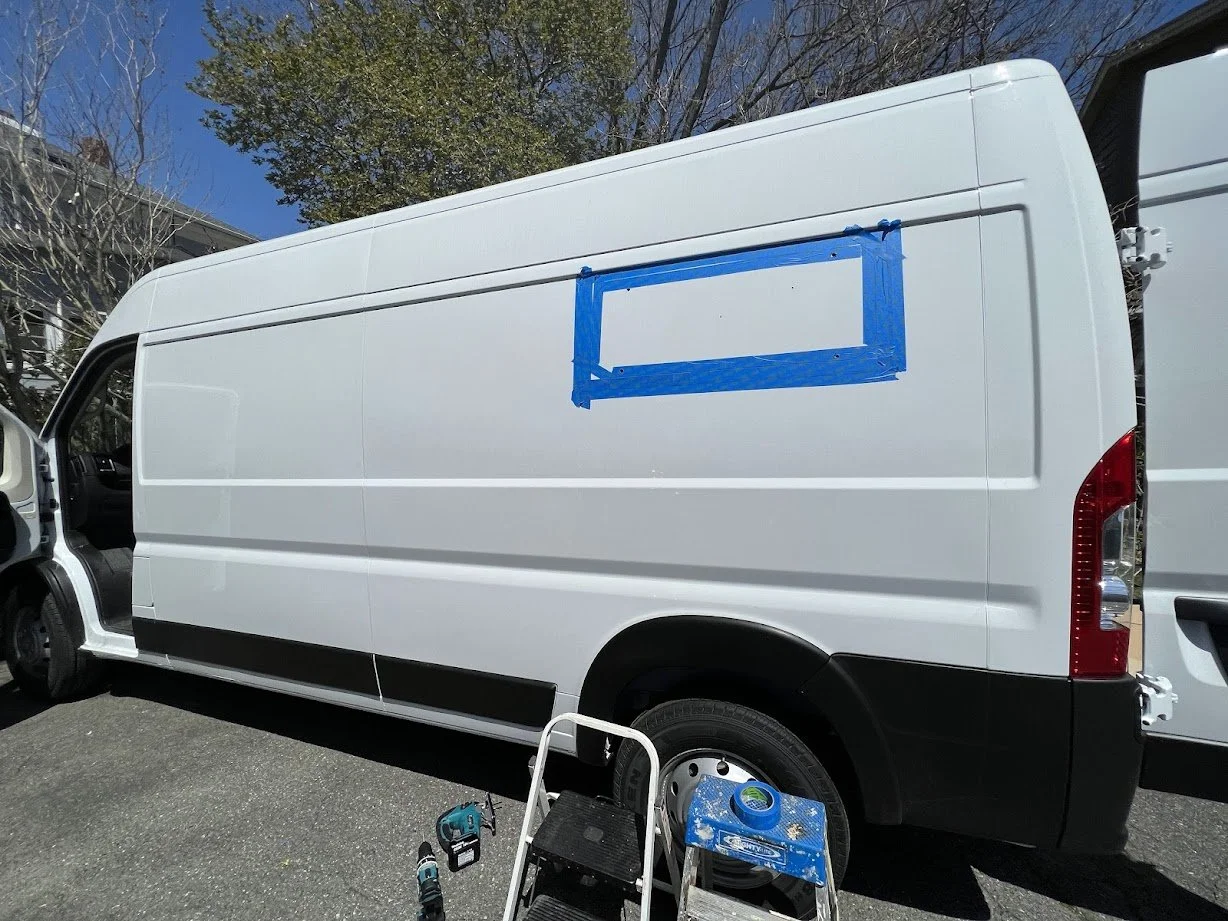
From left to right: We taped the location of the window, then cut the hole and finally installed the window.
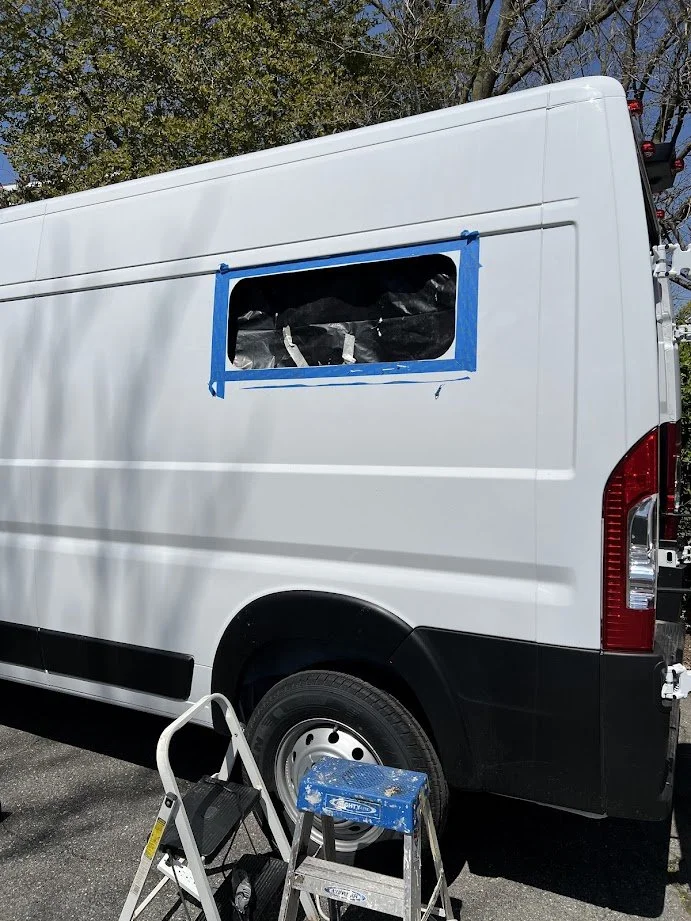
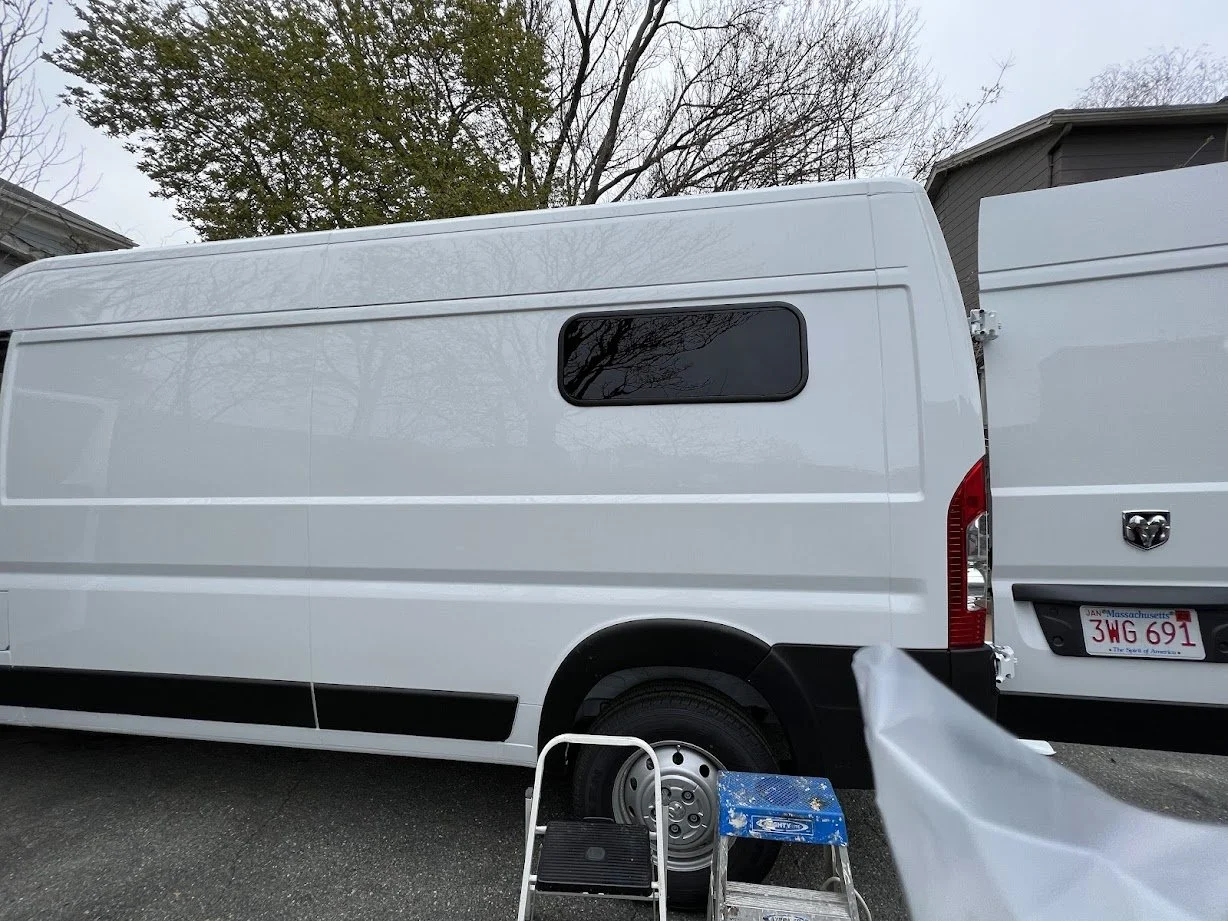
Cut second window
This cut was especially terrifying as it’s the largest hole we’ll ever make in the van. Took a solid 2 days to ensure perfect placement, cutting and installation. I don’t have a picture of the tape placement but the window is at the front of the van behind the driver’s seat.
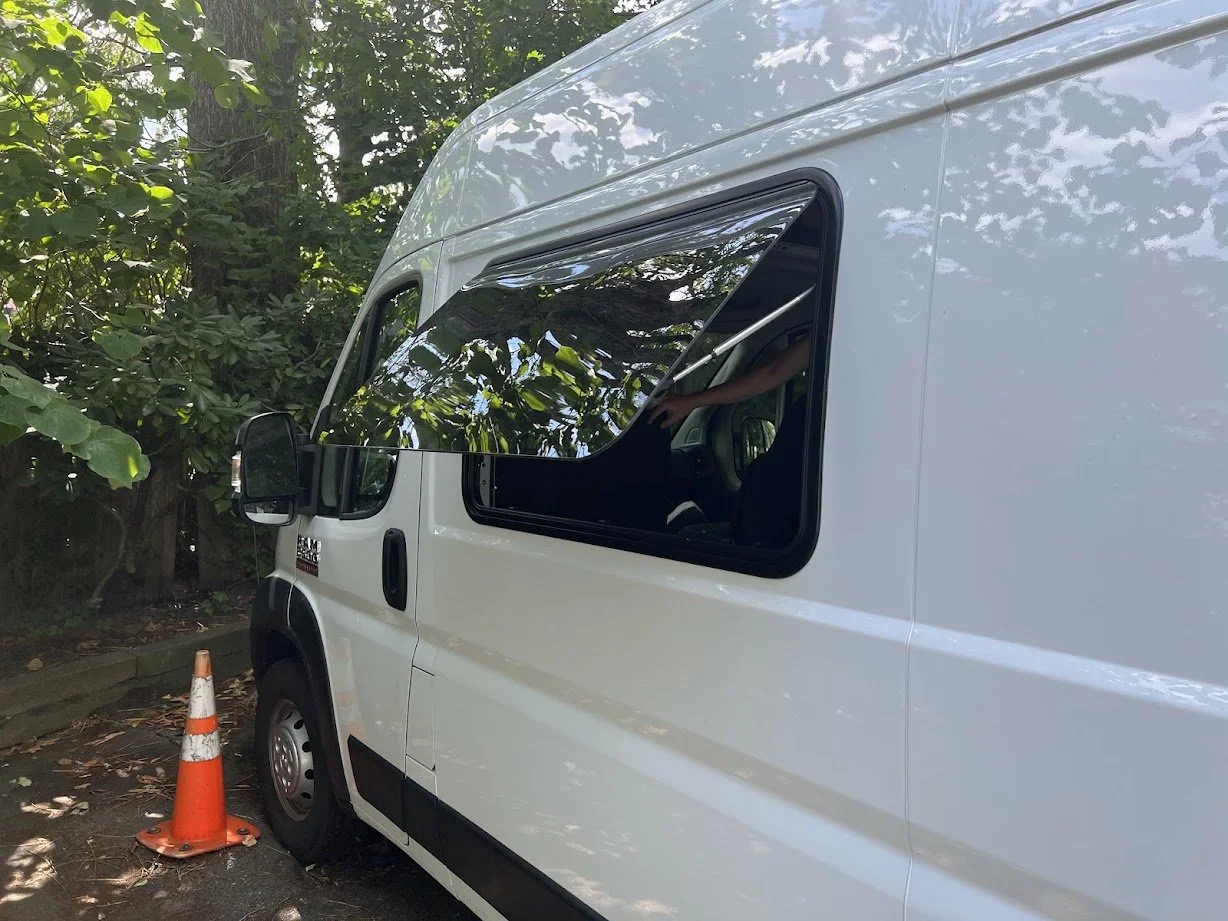
From left to right: The large window hole was cut, we added sealant to the window and finally installed it!
Install a vent fan
We installed a roof fan because air circulation is critical with stinky people inside.
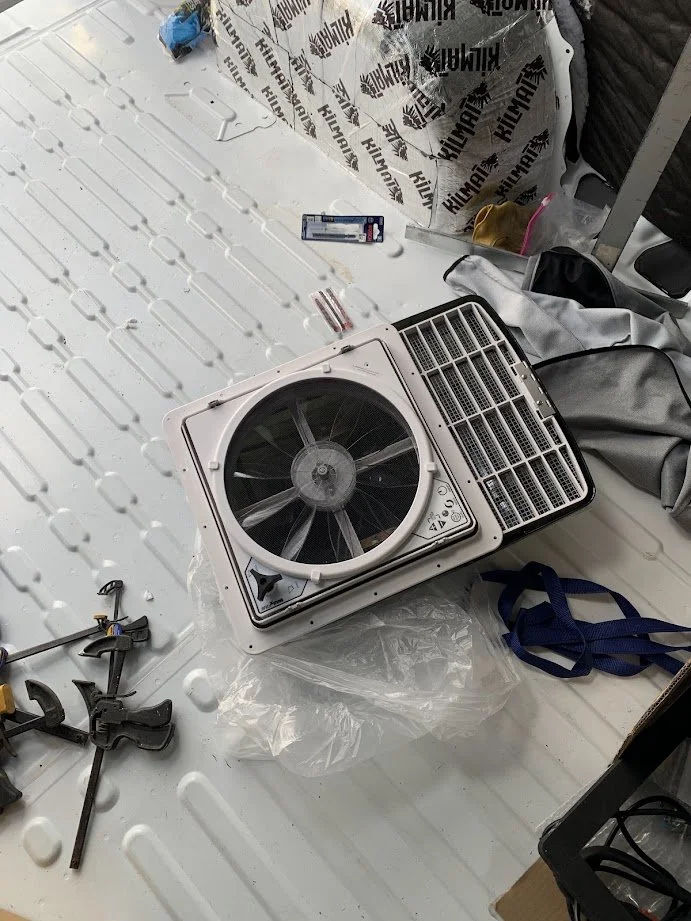
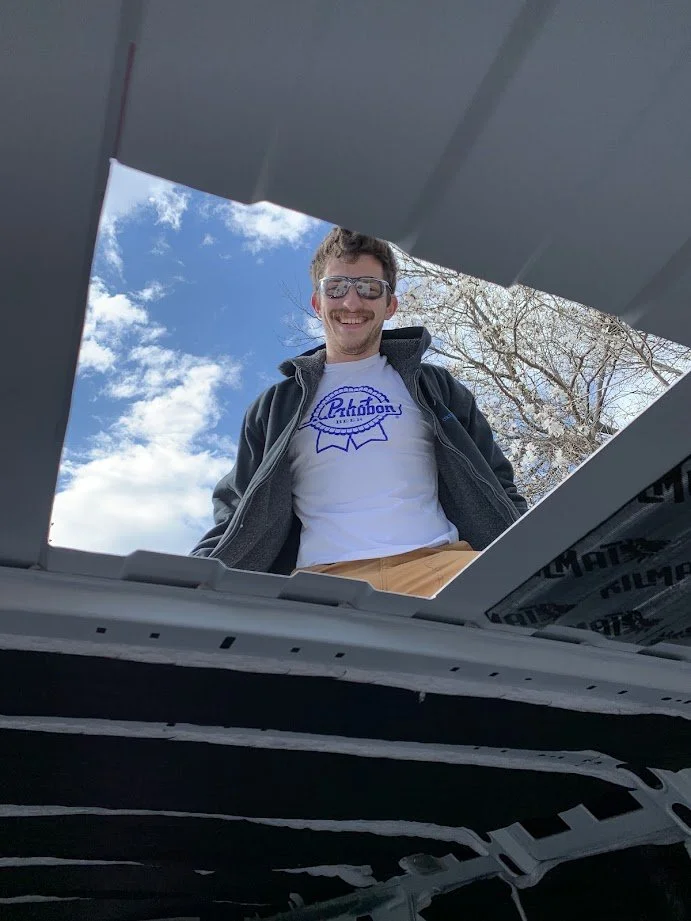
Left to right: The roof vent before installation and the hole we cut into the ceiling for the installation. Admire Noah’s stylish safety goggles.
Take random van trips while under construction
We have taken random mountain biking trips even though the van is still under construction. Turns out building a van takes time and we still want to get out and play.
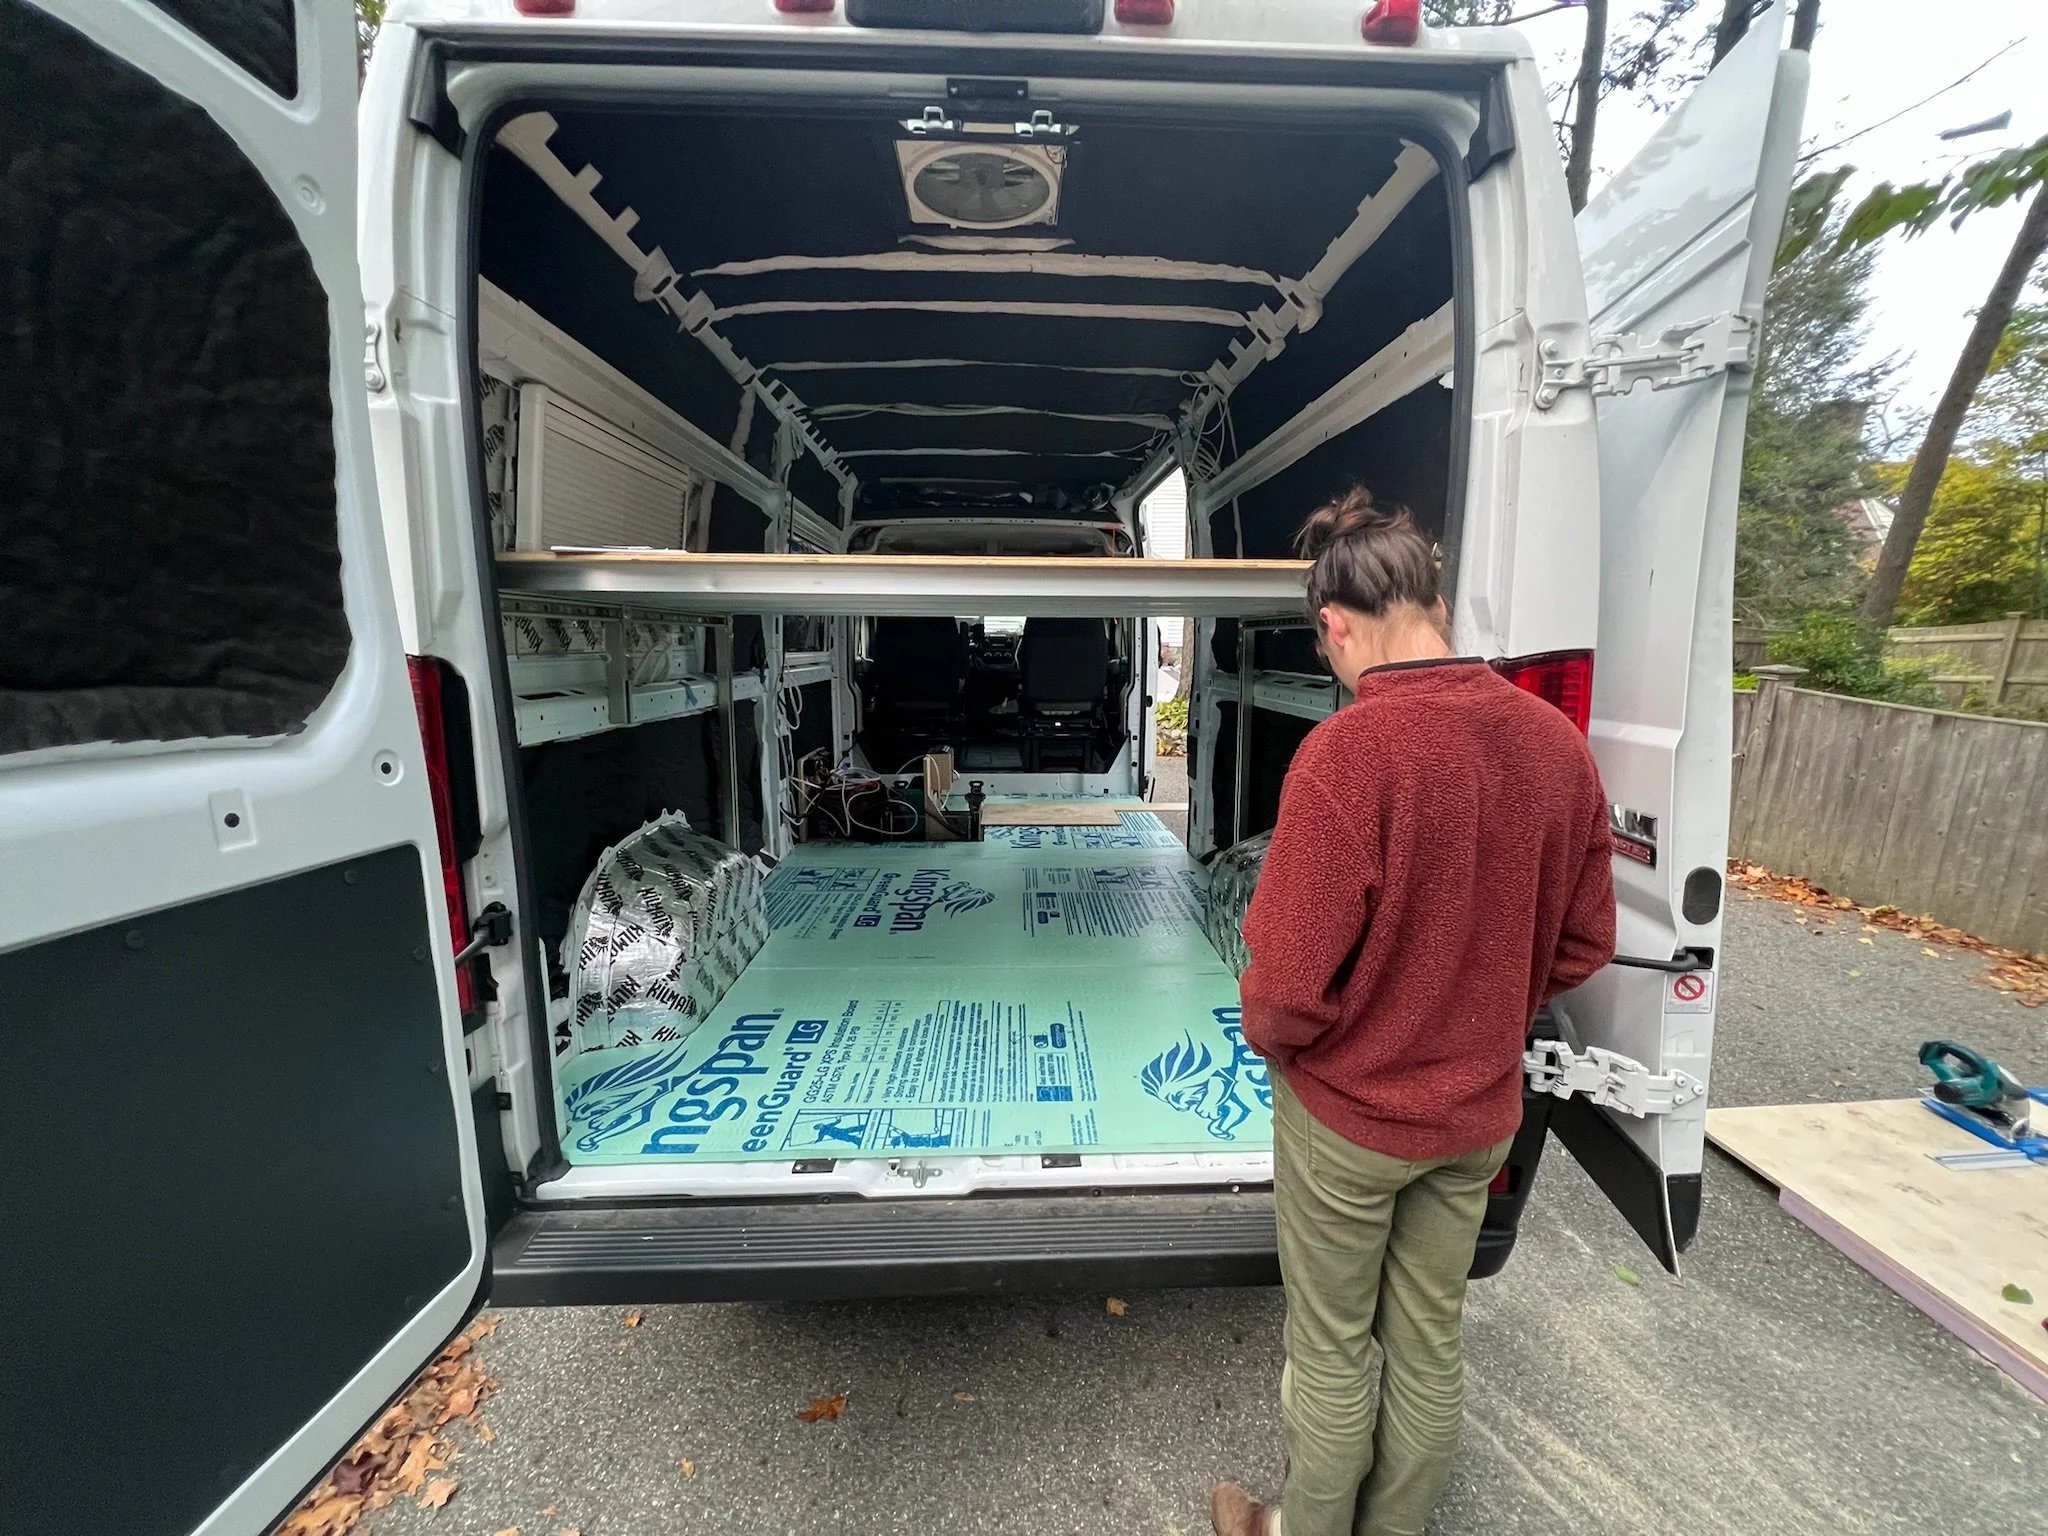
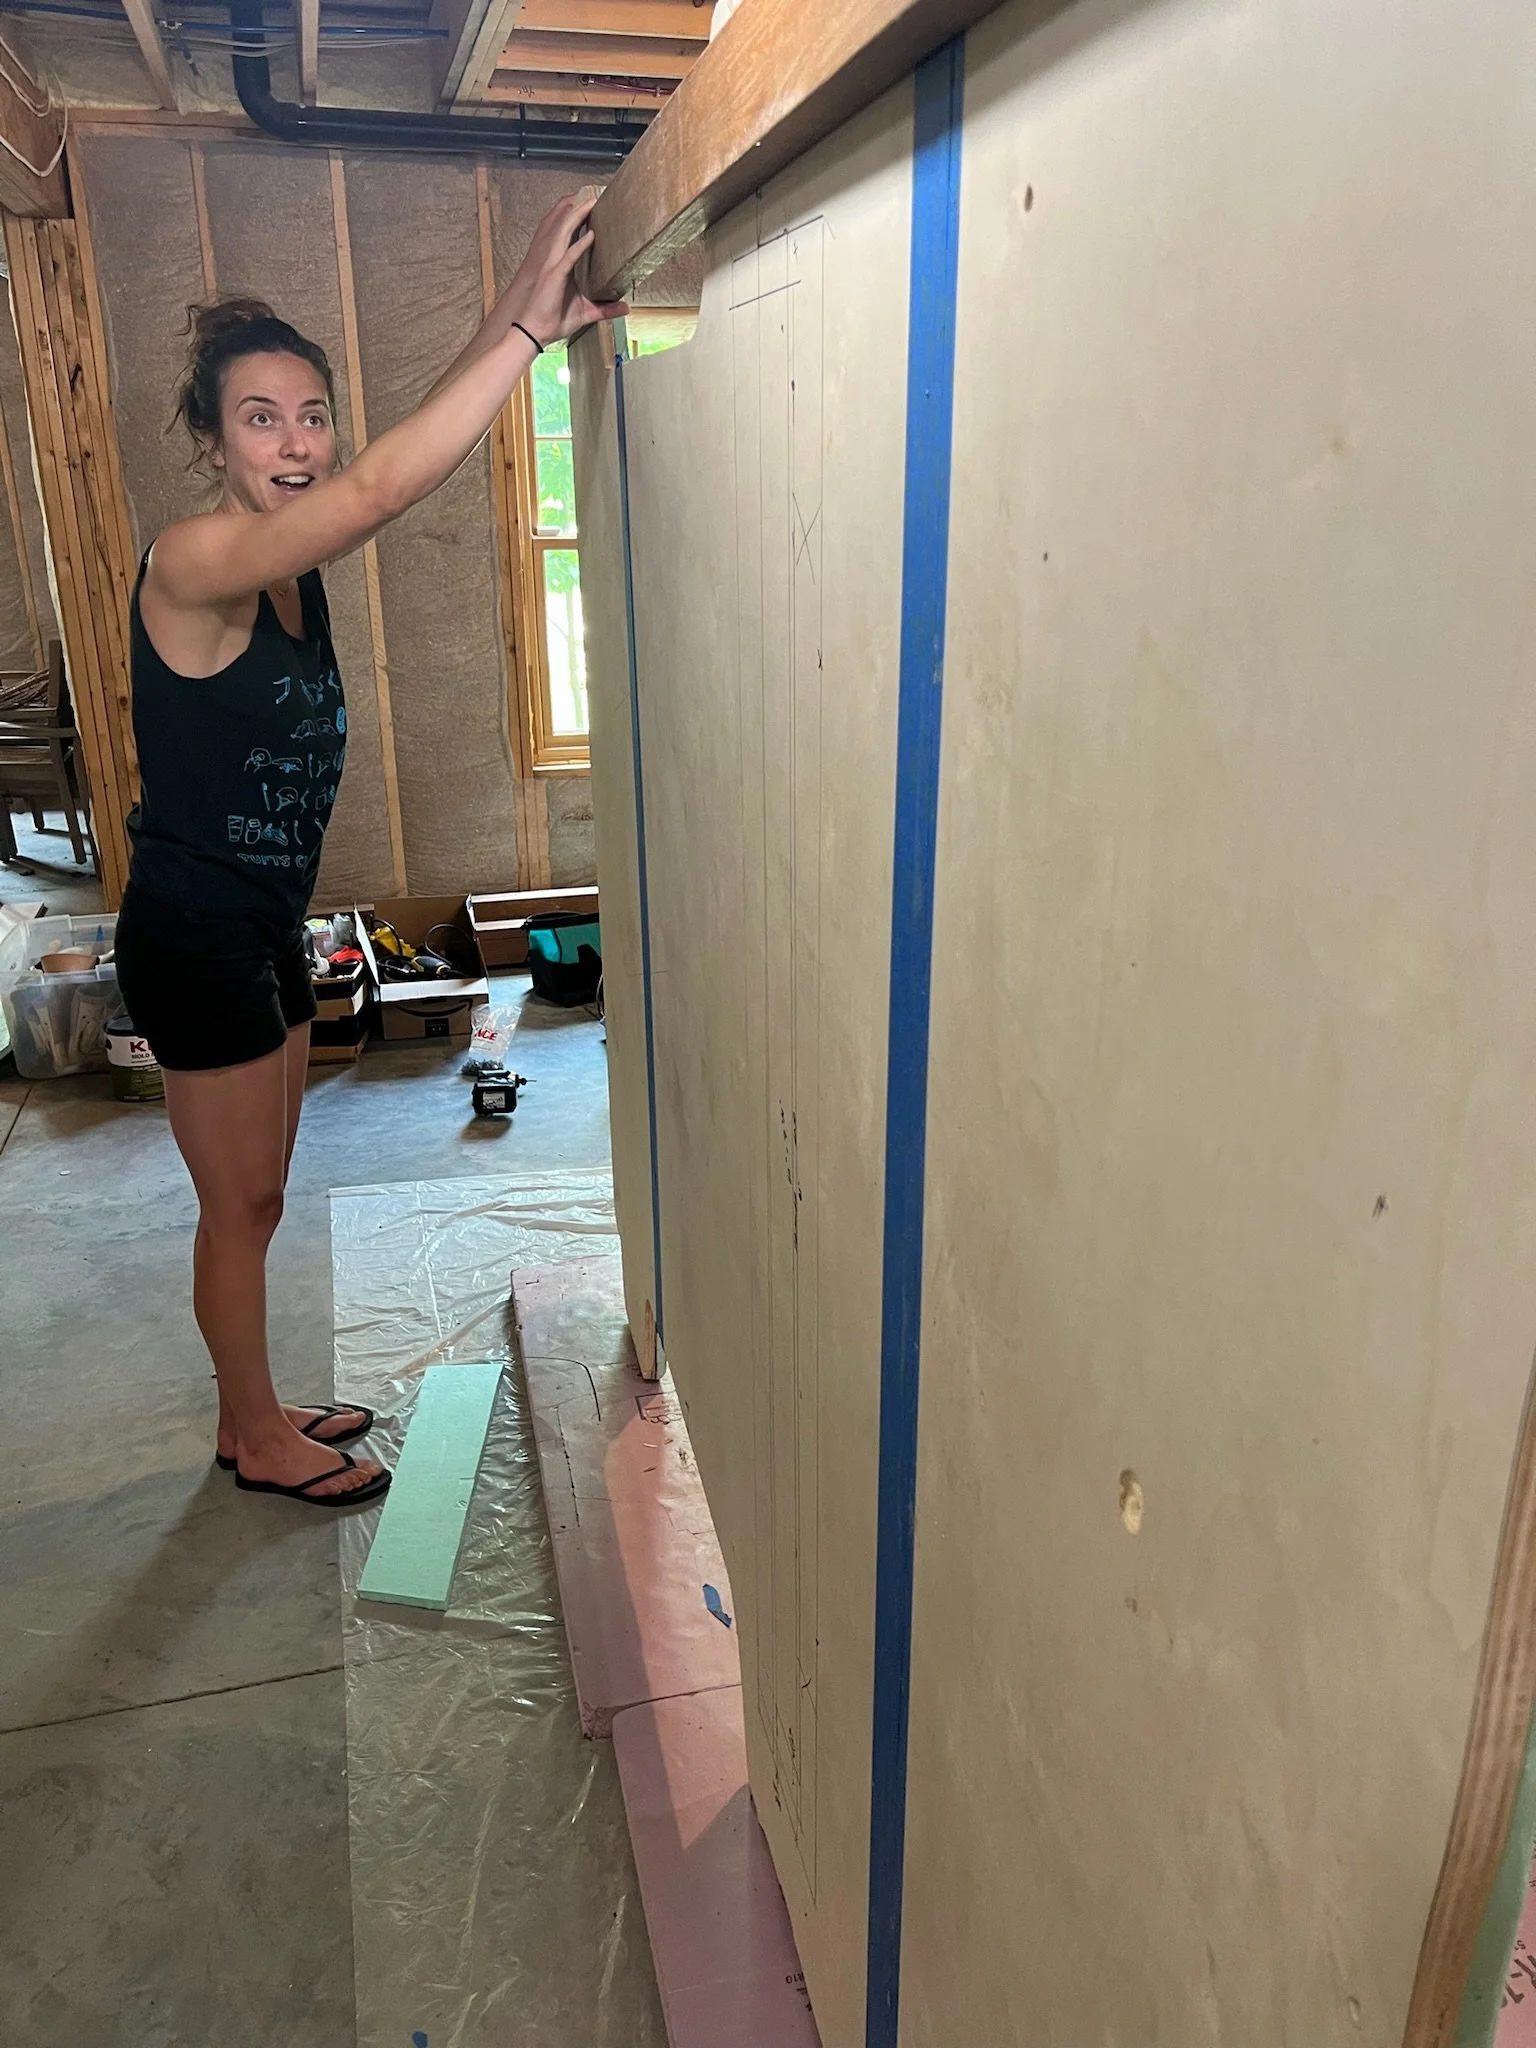
Build a floor
This was by far the hardest and longest process. The floor is both insulation and water protection. We decided to build the van floor outside the van and then carry it in and install it.
Phase 1: Design and template
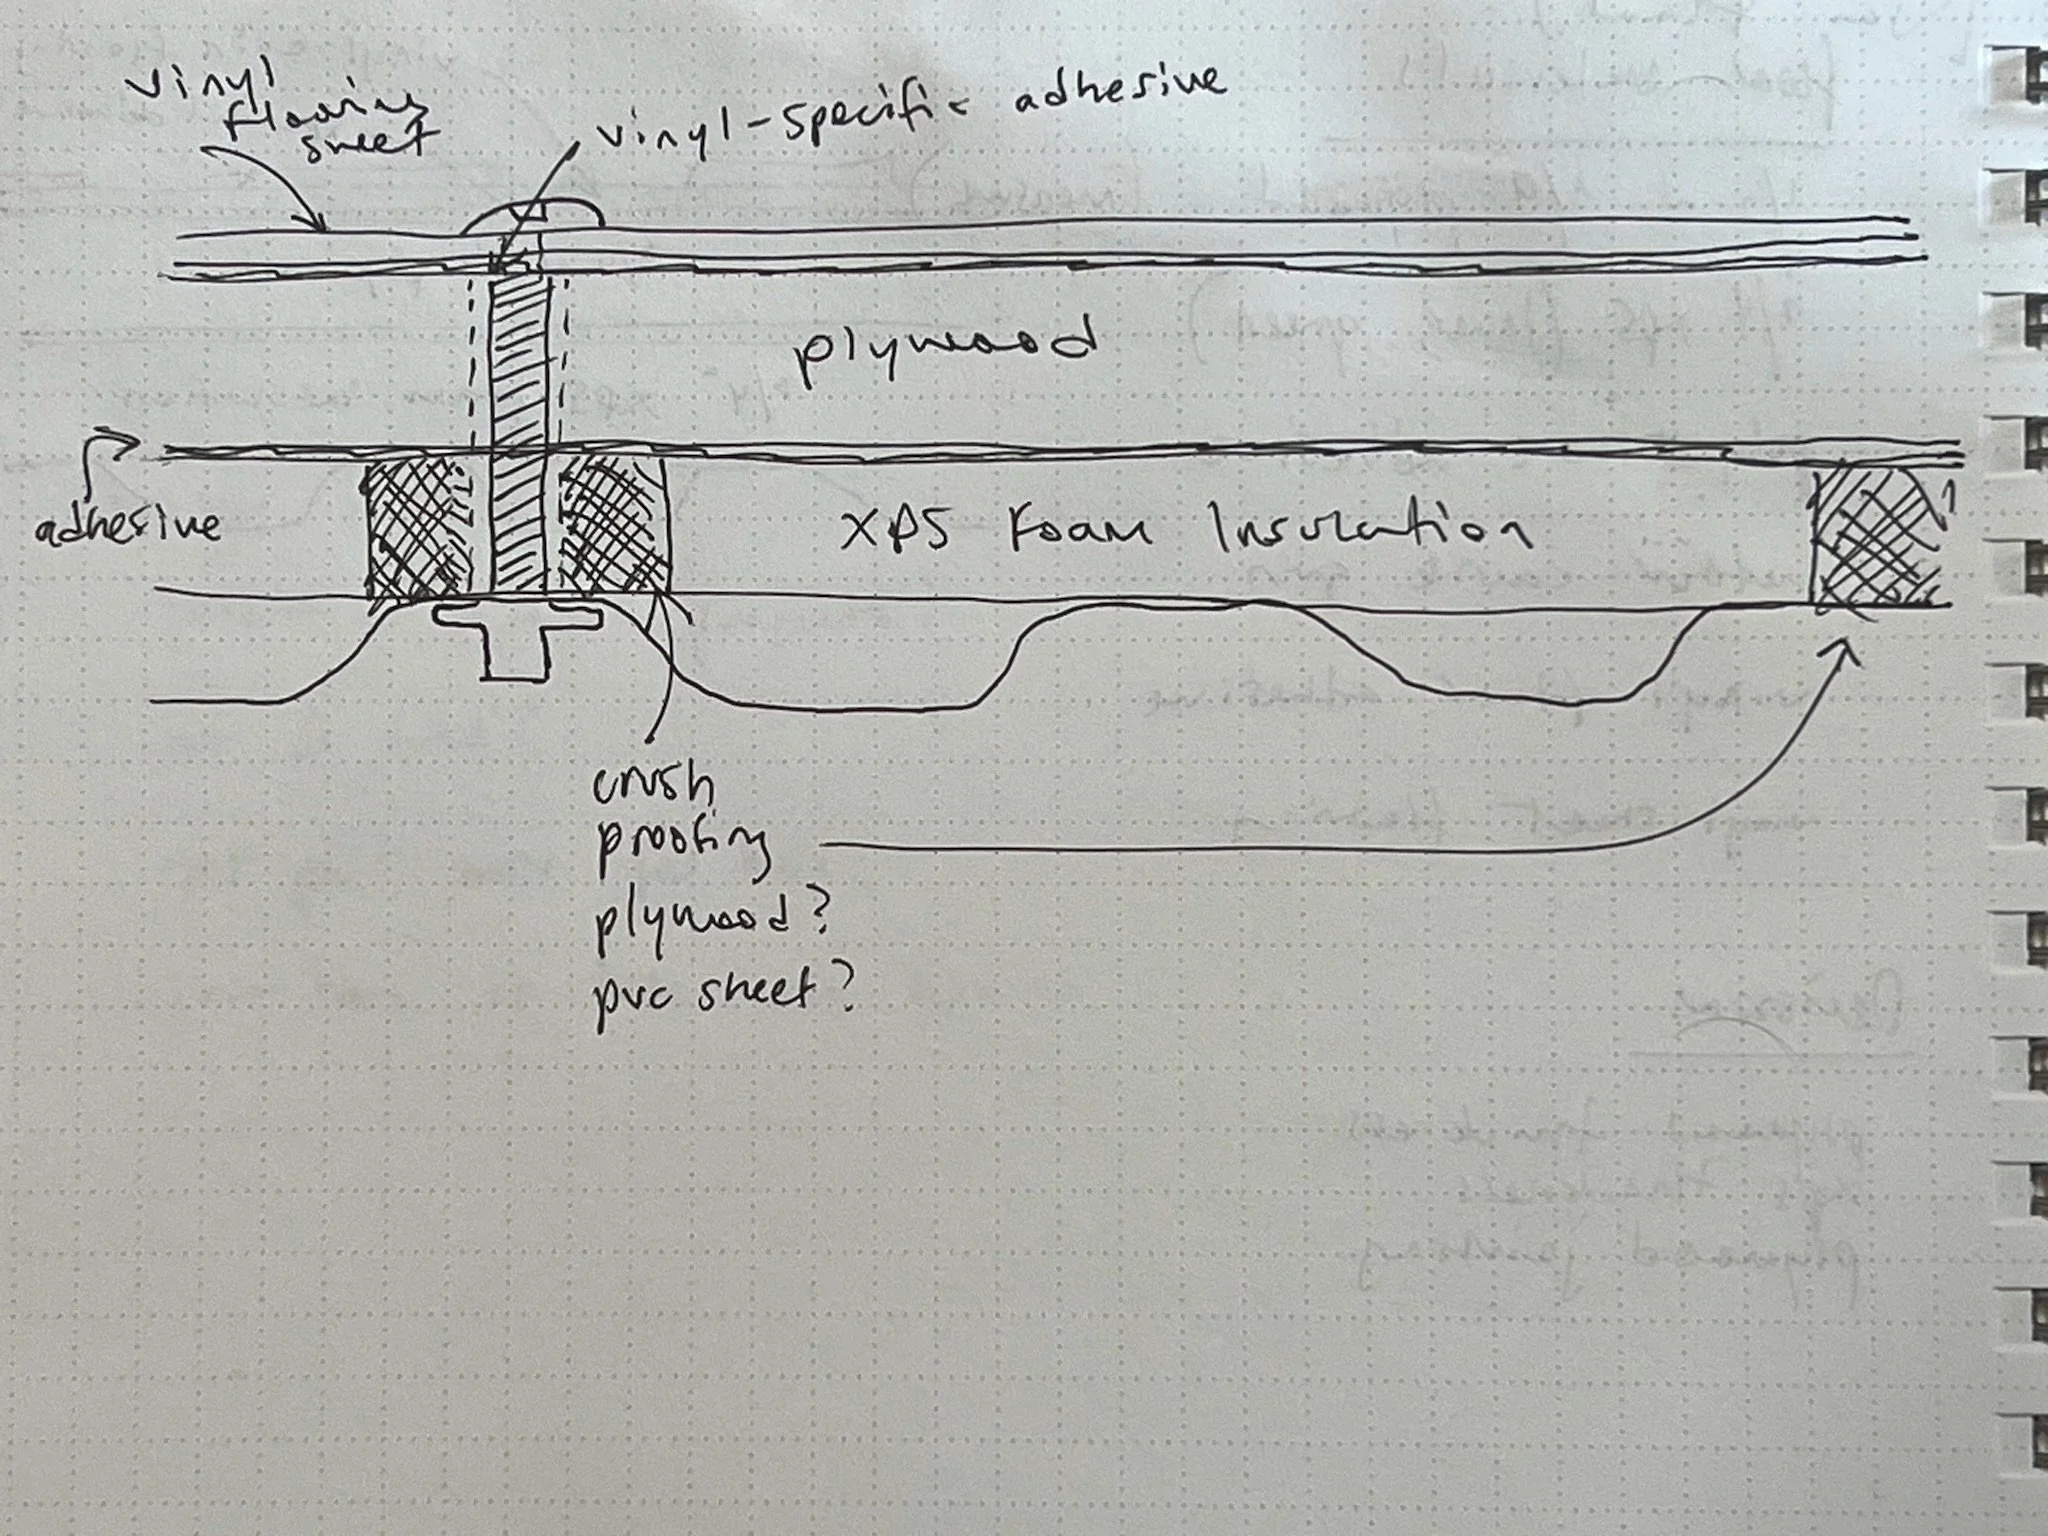
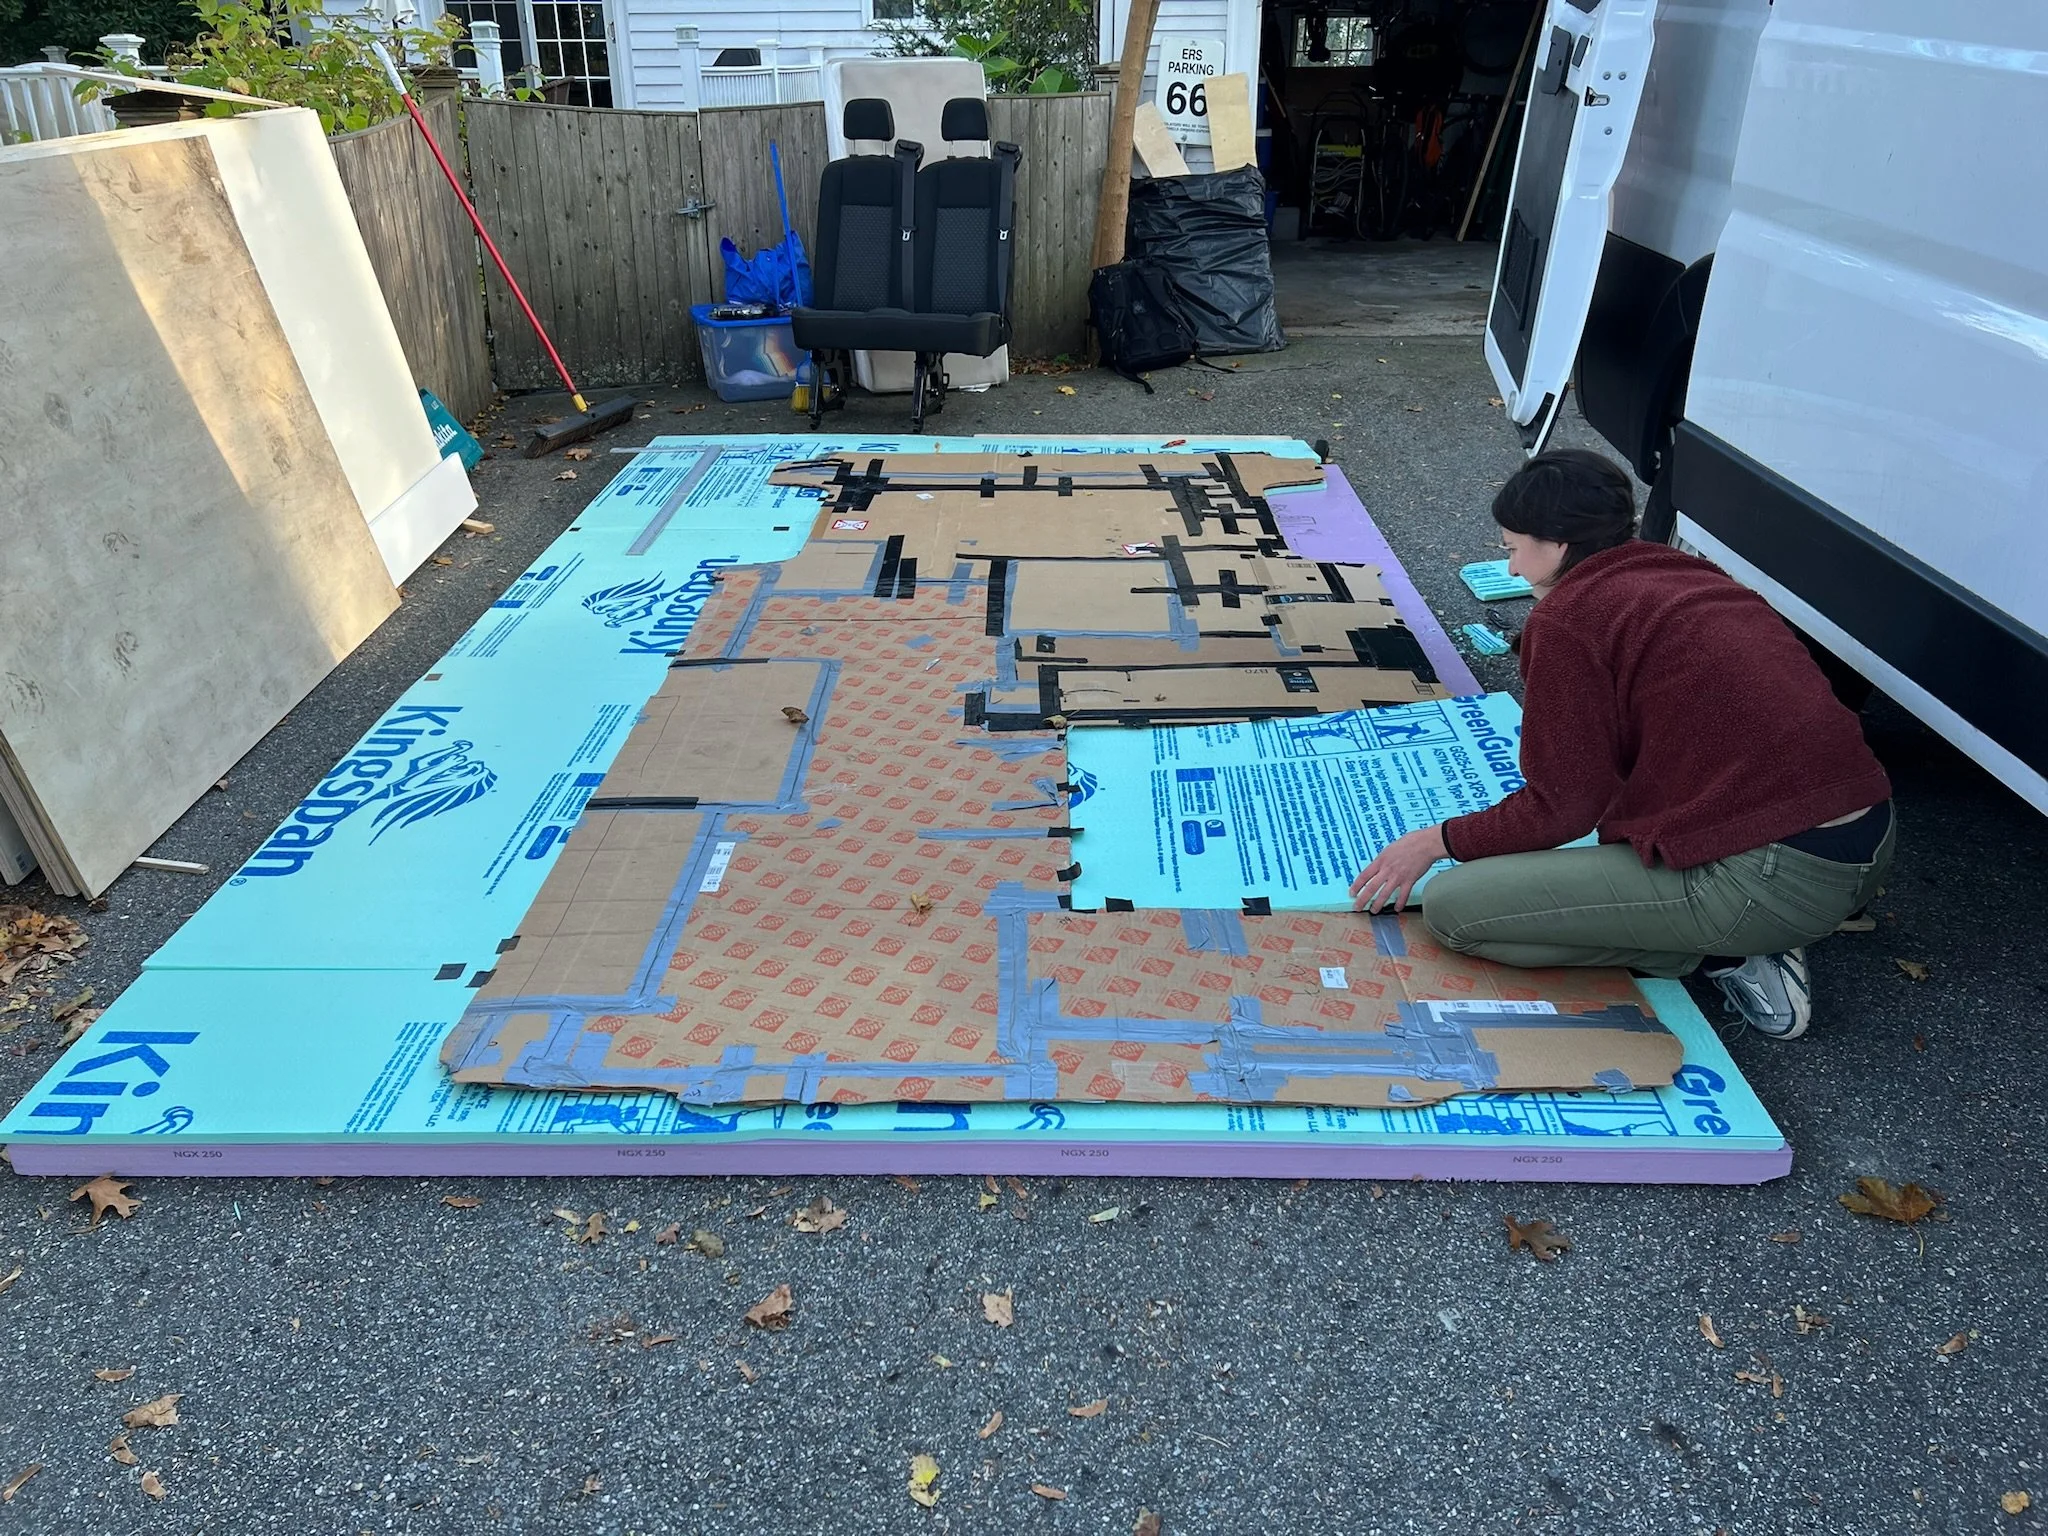
Left to right: The floor design has three layers and the first step was making a very accurate cardboard template of the entire floor.
Phase 2: Cut layers

Left to right: Foam layer, wood layer, linoleum layer
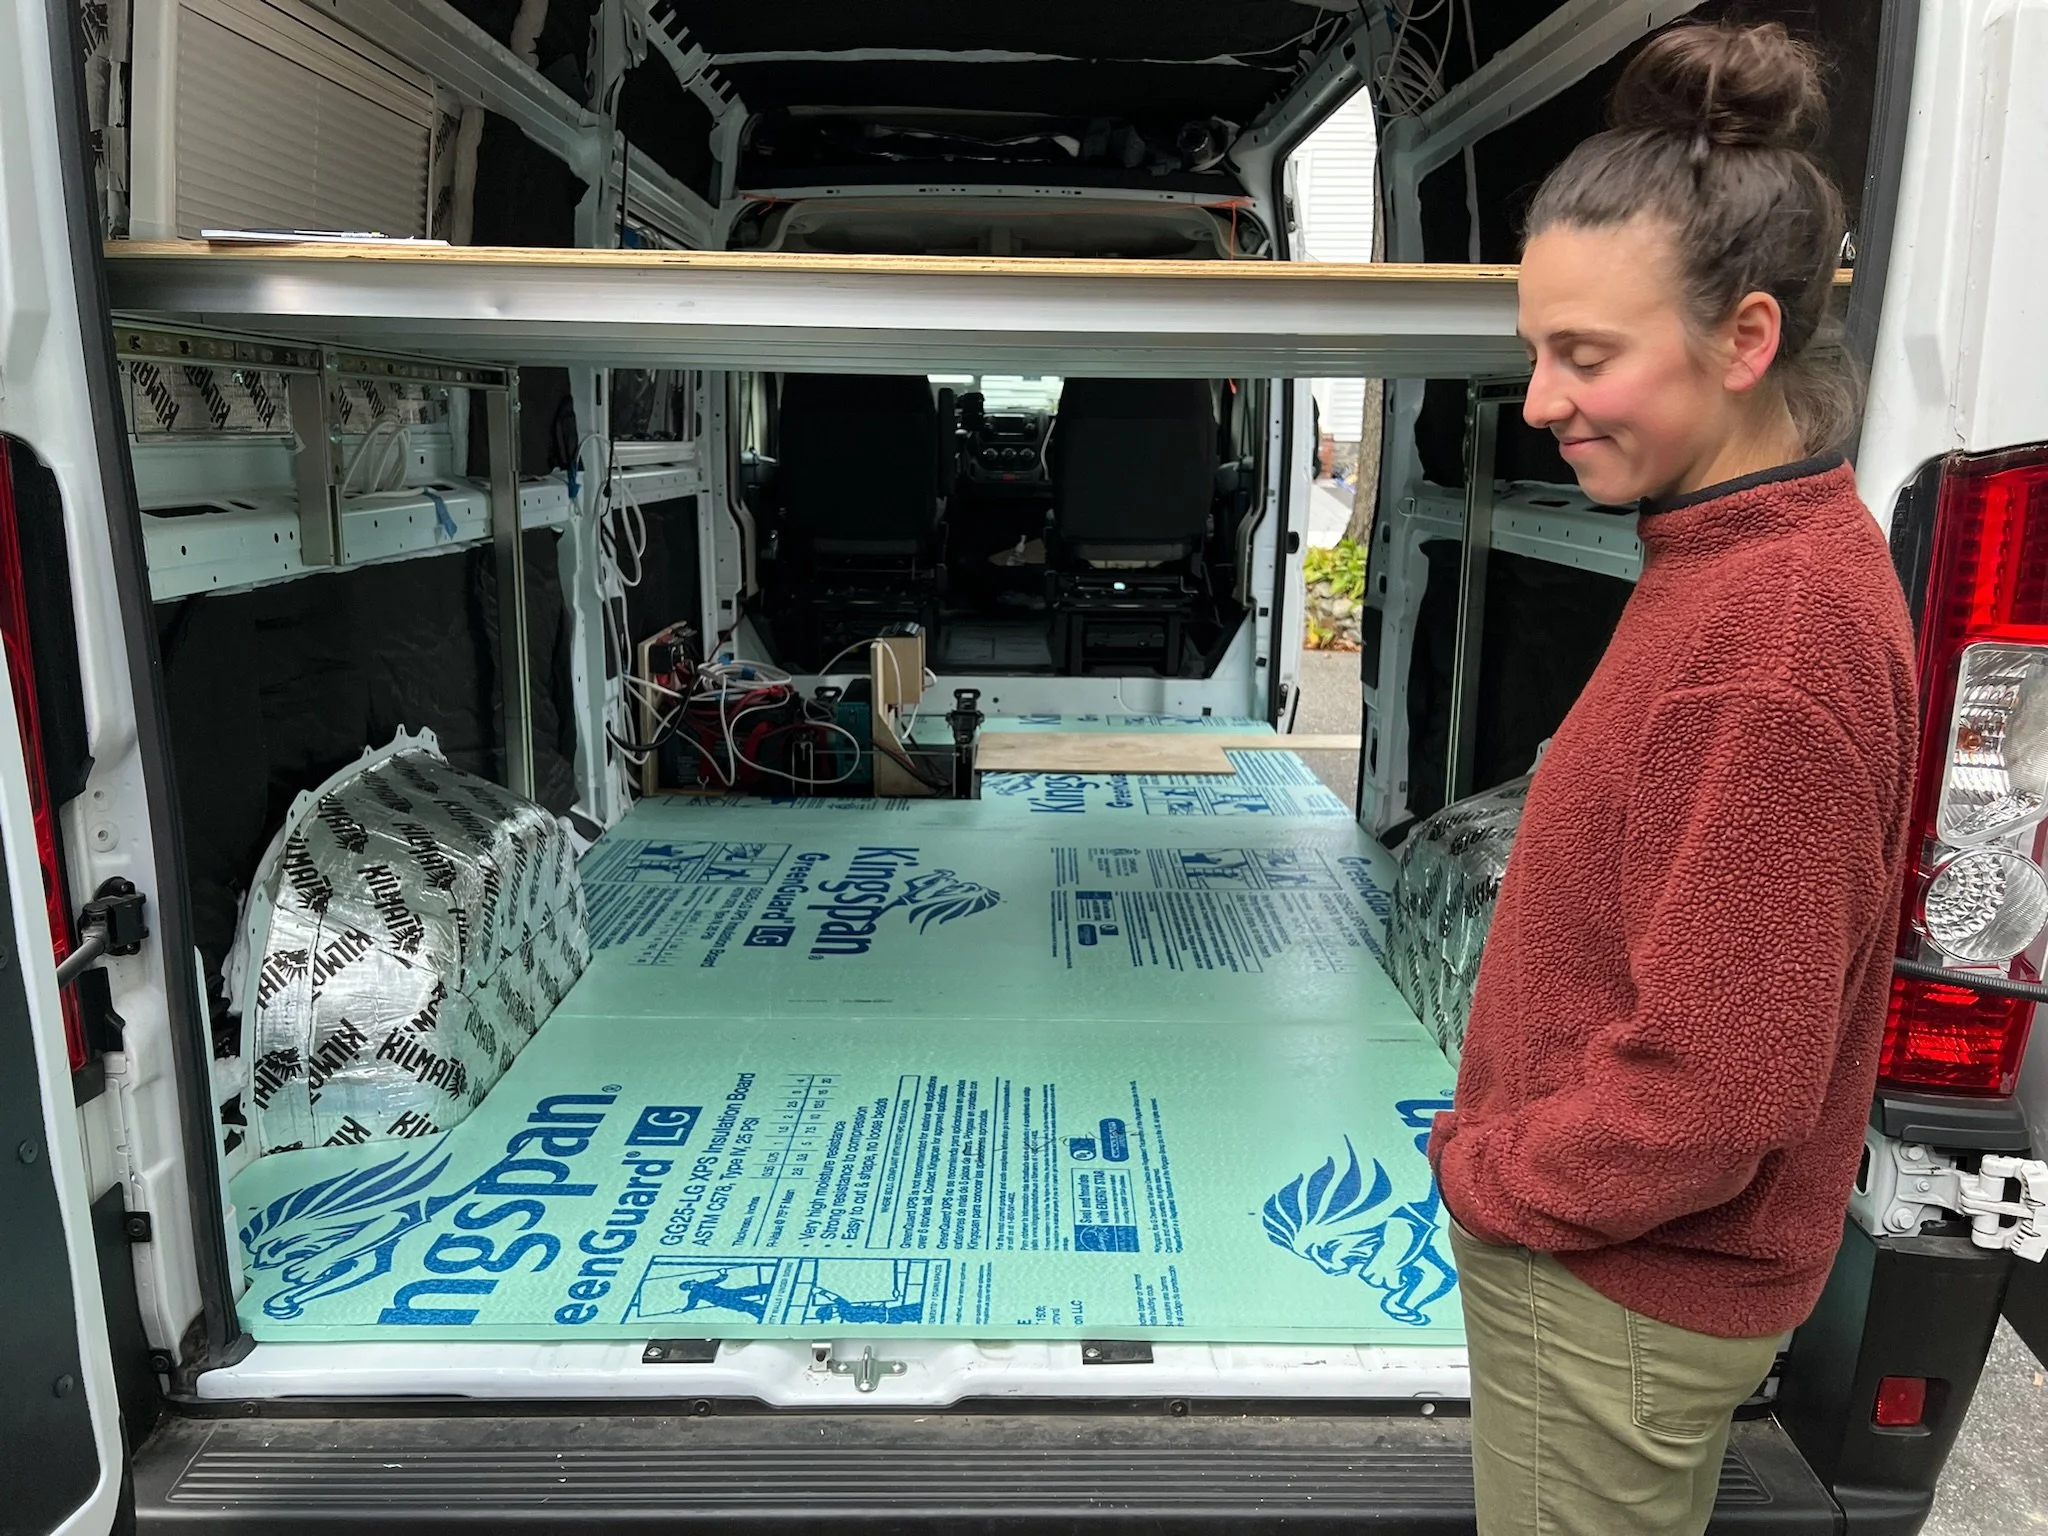
Phase 3: Assemble layers and install
We glued all the layers together outside of the van. With a lot of help from Dylan, Liz and Gary we carried this large structure into the van.

Left to right: Van floor partially assembled and then fully installed! Thank you Liz, Dylan and Gary for the help.
Wire and install batteries
We ran rough wiring throughout the van and installed batteries and switches.
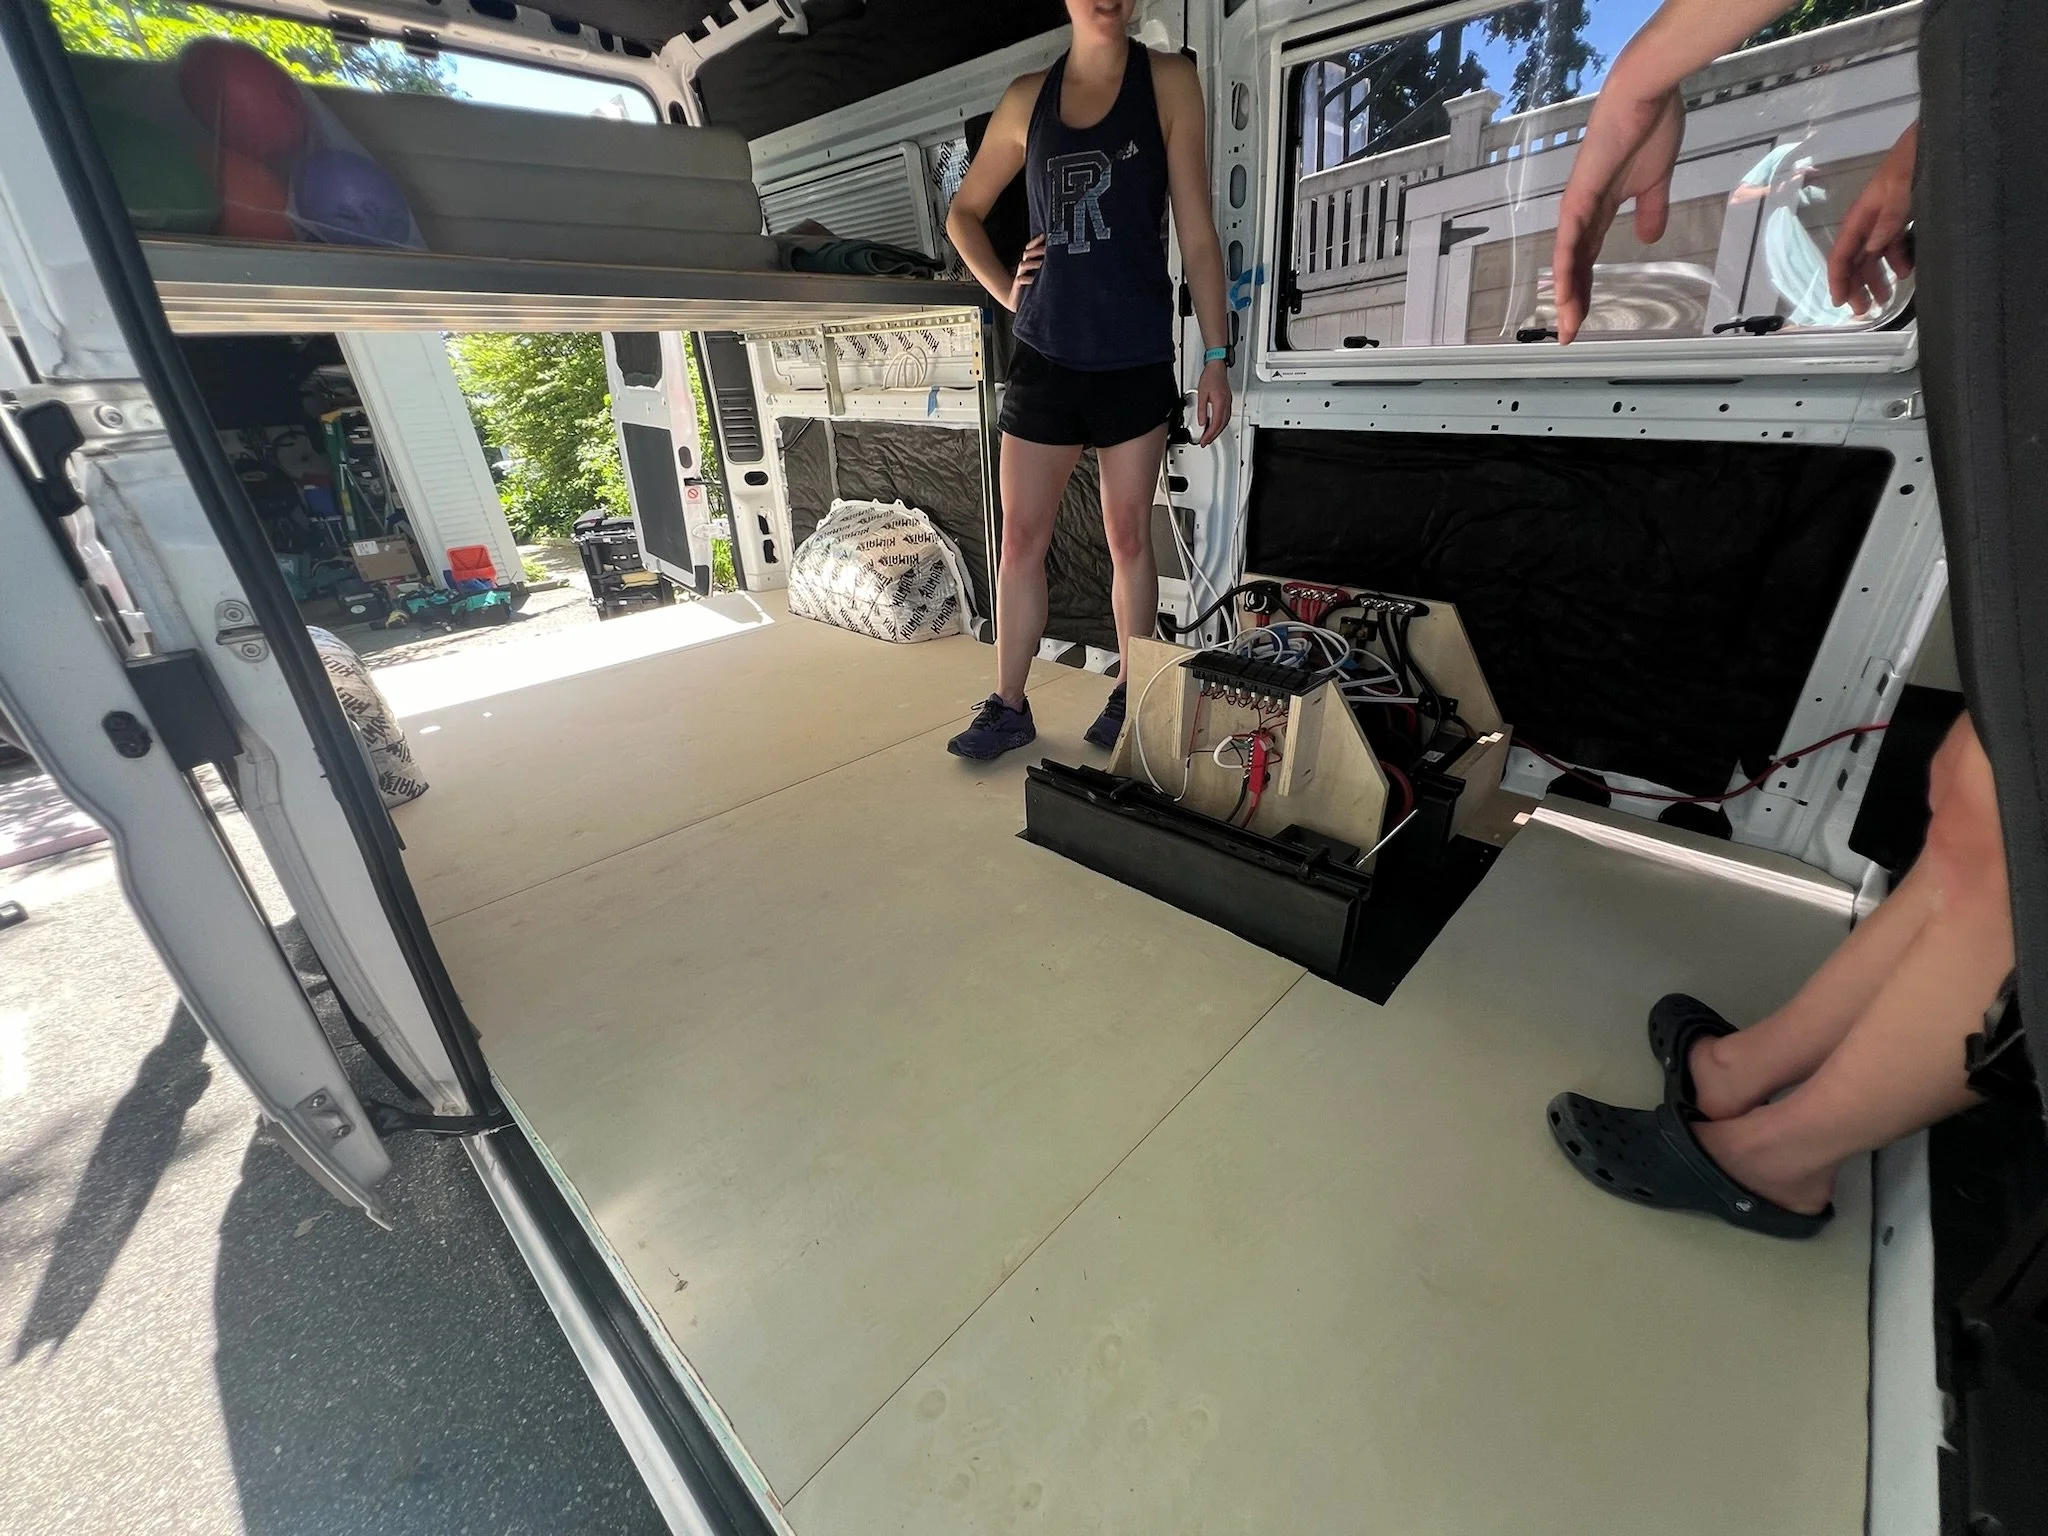
Here are the central batteries and switches. The electrical system sits underneath the passenger bench seat when it’s installed.
Buy great subs
Building a van takes a lot of work which is why you need to sustain yourself with delicious subs.
Yum.
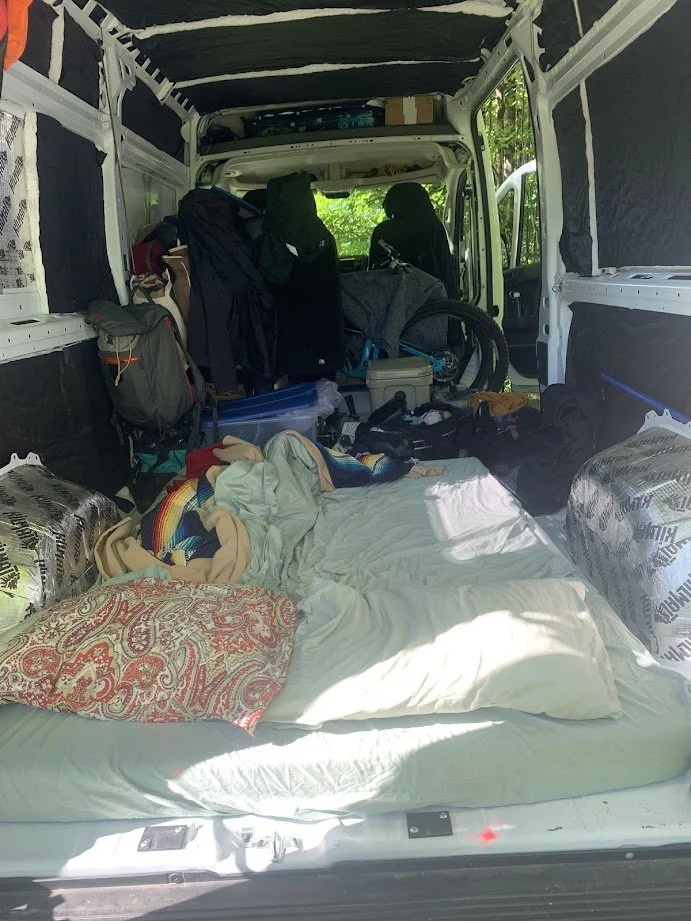
Build a bed
We built the bed in the back of the van to be tall enough to fit many bikes underneath.

The bed is full size and fits two tall humans. It can be entirely removed as needed.
Install a diesel heater
Another day and another hole in the van. This time we cut a hole in the floor of the van to install a diesel heater so the van is useable in the winter. The diesel heater is very efficient and allows us to heat the van without turning on the engine.


What’s next….
Build ceiling and wall panels
Seal edges of floor
Install lighting
Build bike drawers
Build cabinets
Install water system
Take many van trips